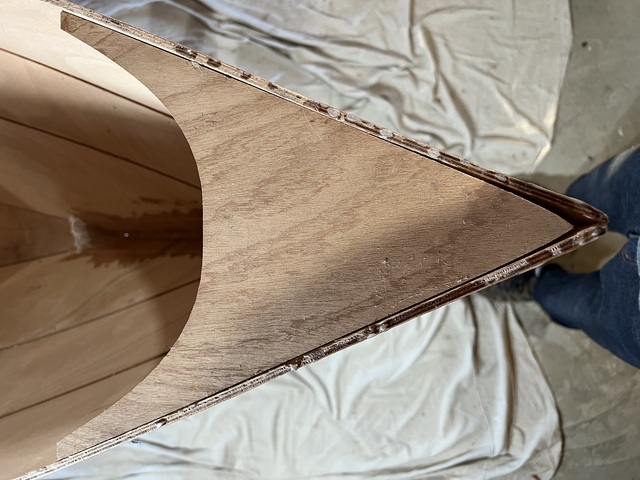
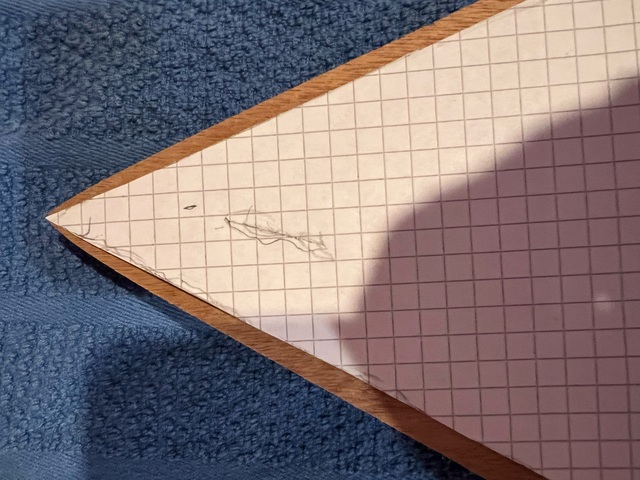
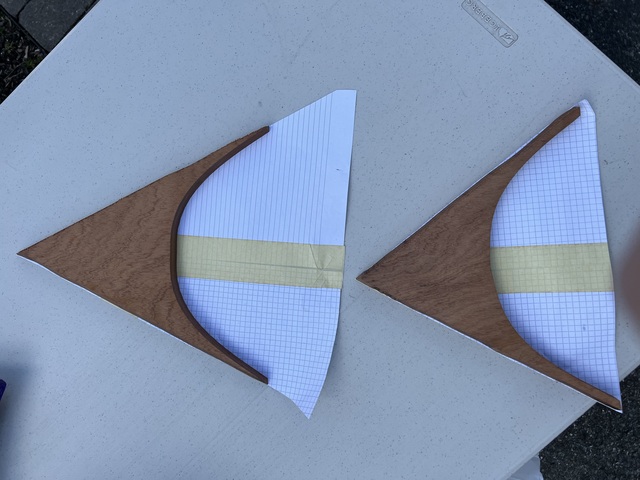
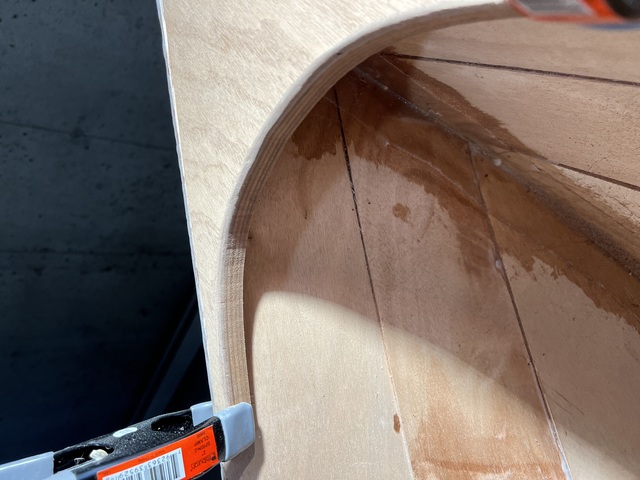
Well this is worrying. Now I am supposed to install these triangular pieces — breasthooks — at the front and back of the boat, where the panels form a V at each end. And they don't quite fit. And because CLC has cut these parts by machine from precise 3d models, that means that I've done something wrong.
Here's the bow:
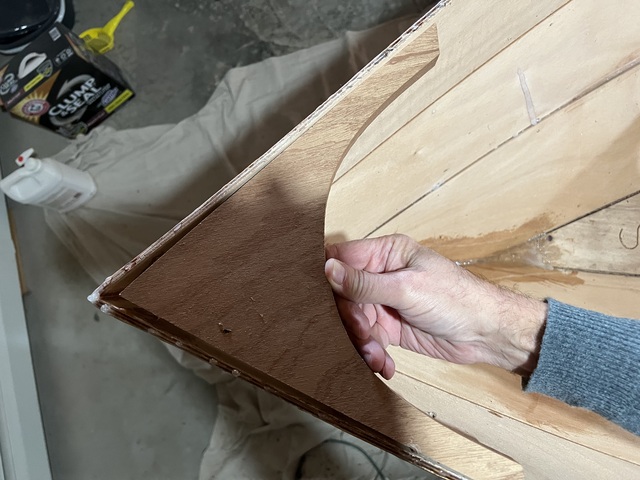
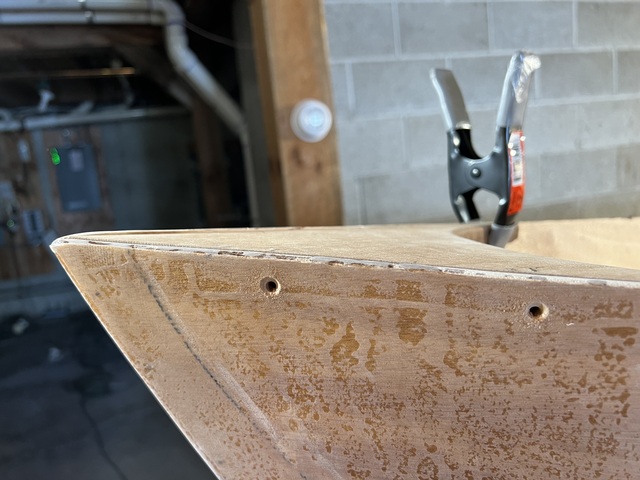
And the stern:
I doubt that the poor fit is a serious problem, and it can only be considered "worrying" (as stated above), because I tend to worry about things excessively. And contrary to the usual wisdom, the things I tend to worry about are the things I can't change. Like the hull of this boat that I've been working on for 2 1/2 years.
By the way, I chose "syncboat" as the name of the script I wrote that copies the files of this blog to my server, i.e., synchronize the files of the boat blog. I just realized that this also sounds like "sink boat".
Back about 2 1/2 years ago, back when I was assembling the hull, I missed an instruction on page 57 (I'm on page 68 now. So 11 pages in 2 1/2 years):
Clamp the breasthooks in place temporarily.
If I had done that, then the breasthooks would fit better now, and
I wouldn't have this problem. I called CLC, and they said that I need
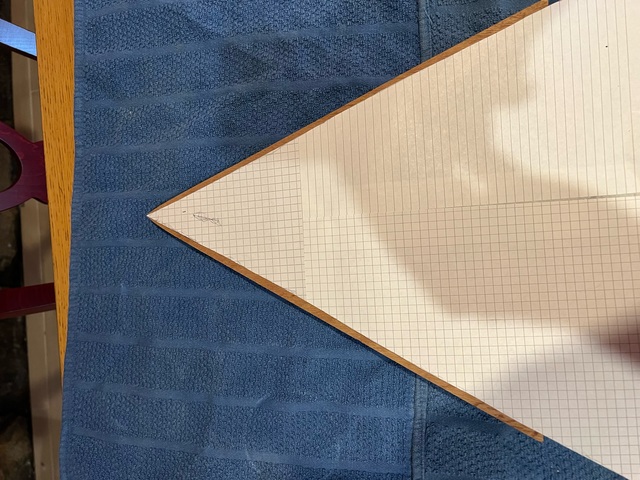
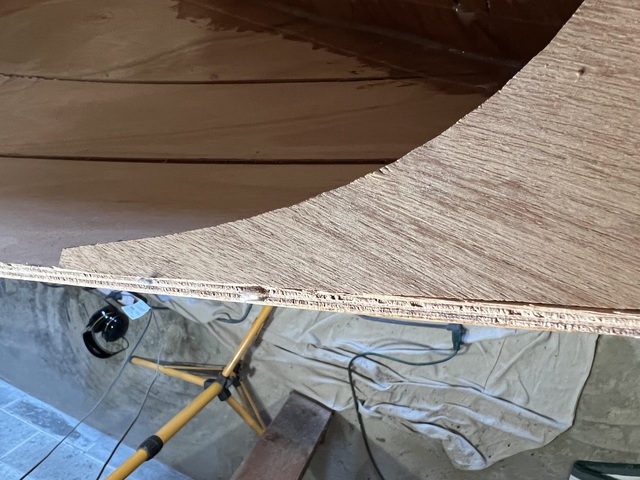
to sand the breasthooks. So I traced the shape of the hull, and marked
the breasthook so I know how much to sand off.
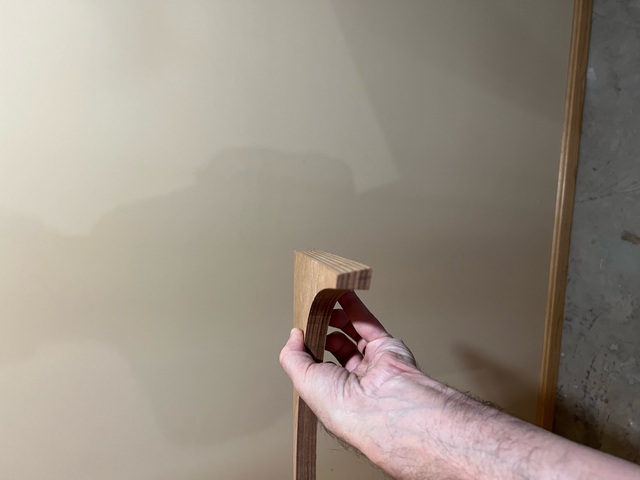
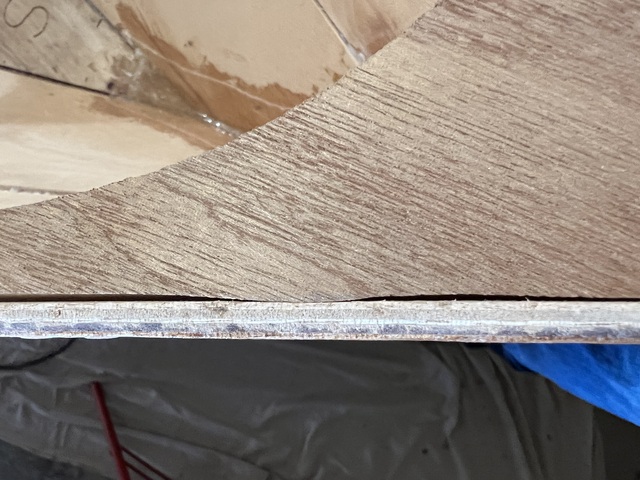
A further complication is that these breasthooks are thick.
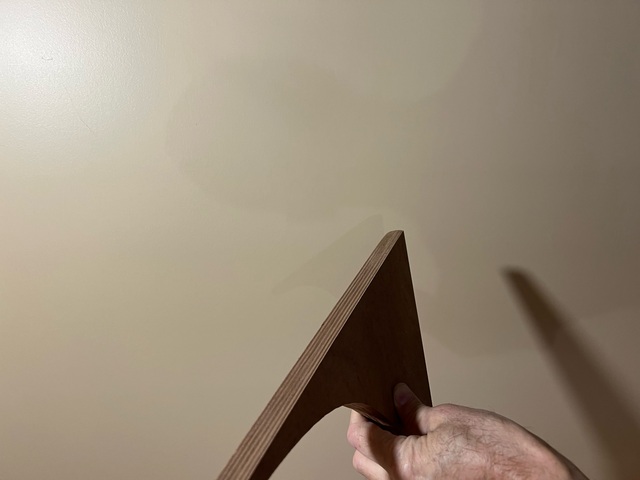
And a further complication is that the side is angled.
So sanding is going to be a bit tricky, (for me, that is). For this reason, want to clamp this thing in place securely, while I operate on it in my incompetent fashion.
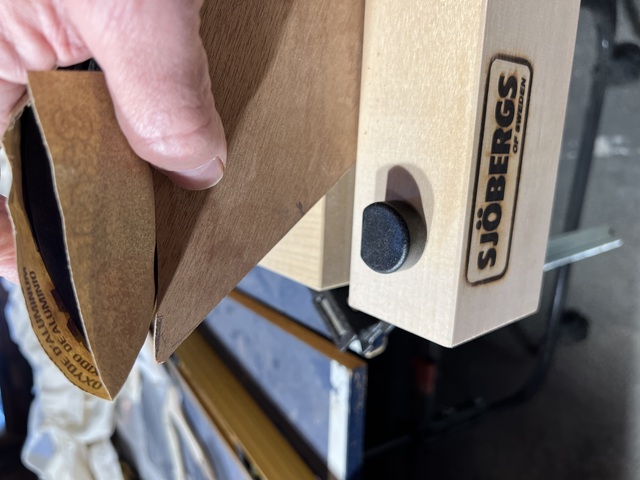
In my eager tool-buying spree, I bought a table-top vise, because I was sure that I would have to hold something in place securely, while I operate on it in my incompetent fashion. And here we are.
I didn't open the package containing the vise until now. This is the Sjöbergs Smart Vise. You clamp the thing to a table (clamps not included), and you can use its mighty jaws to hold in place whatever object you are working on. But before such things are possible, the Sjöbergs Smart Vise has to be assembled.
Sjöbergs, like it's compatriot company Ikea, provides
easy-to-assemble kits. I have assembled many Ikea products. It is
laborious but easy. Sjöbergs defeated me. The instructions comprise
three diagrams.
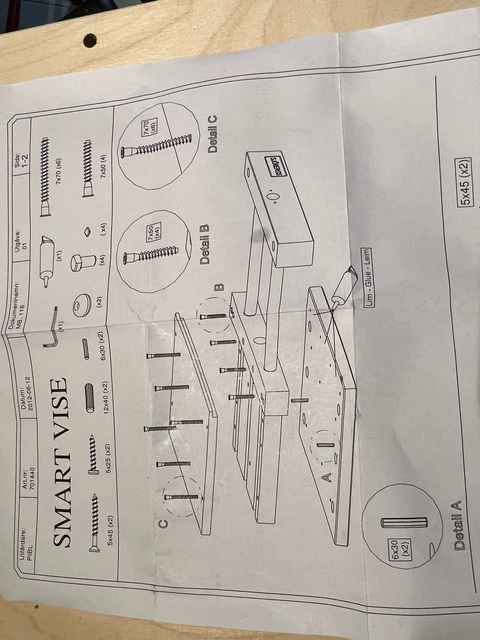
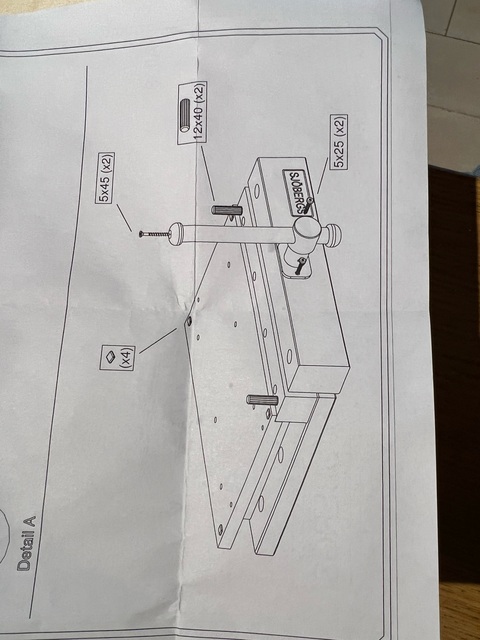
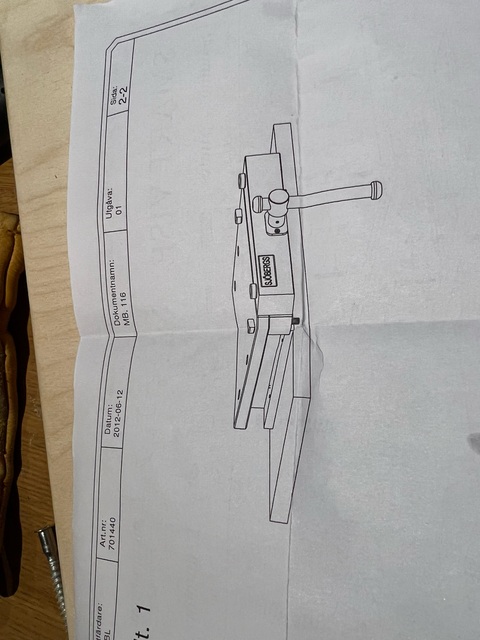
I stared at these diagrams, and at the parts, for an hour, and
could not figure out how everything fit together. Audrey tried too. We
could not figure it out. Instructions of this sort often include
dotted lines, or some other visual clue to indicate what lines up with
what. But I guess an excess of Swedish minimalist design led Sjöbergs
to forego such frills. Fortunately, I found a video showing exactly
how to assemble a Sjöbergs Smart Vise.
The tricky thing about these easy-to-assemble kits is knowing how many degrees of symmetry each part has. I assembled a dresser for Julia, in her apartment — SORRY — in her flat in Bristol. It was a complex thing to assemble. And I had to backtrack quite far, because I missed that one piece was slightly asymmetrical and that I had, oh, 17 steps previously, installed this infinitesimally asymmteric piece rotated by 180 degrees. The Sjöbergs Smart Vise had numerous candidates for such confusion, and even with the video, I spent 15 minutes trying to figure out why some of the pre-drilled holes weren't lined up properly with other pre-drilled holes. So I backtracked and took apart some pieces, only to realize that it was a completely different piece I had gotten upside down. Thanks, Sjöbergs!
Anyway, I was finally able to assemble my Sjöbergs Smart Vise, and I am ready to start sanding the breasthooks.
Well that didn't work. My only sanding tool is a random orbital sander, which I used for the exterior of the boat. I put a breasthook in the vise and started on it with the sander, and burned through a couple of sheets, making very little progress on the breasthook. So I needed another tactic.
I wrote to the CLC forums, and called CLC support, and visited a local Rockler (small national chain of woodworking stores), to collect opinions on how to shape the breasthooks. Rockler showed me a variety of power saws, that could cut at angles, and move in complicated ways, and cost hundreds of dollars. From googling and from the CLC forums, I came up with the idea of using a belt sander: basically a rotating loop of 4" wide sandpaper, in a handheld device. Not too expensive. Rockler thought that would work, so that was my plan.
Now while this was going on, Audrey and I had plans to visit Mark and Anna. Mark is an electrical engineer, who also has no end of DIY projects going on at home. When it became legal in Massachusetts to grow marijuana at home, he built a cabinet for this purpose, and installed a humidifer, temperature controls, special UV lights monitoring equipment, and he grew some pretty large plants. He gave us a lifetime supply of marijuana. (This was maybe four years ago, and we still have about 99% of it left.)
Mark and Anna have been extremely careful about COVID from the beginning. She is an ICU nurse, and early on, PPE for nurses was hard to come by. She had some kind of WW1-era, broken gear (I exaggerate, but only slightly), and Mark used his electrical engineerging skills to jerry-rig a new battery and wiring system to get this thing working again. Mark and Anna are still very careful, because she sees the worst COVID cases (yes, nearly all unvaccinated) every day. So for two years, they have entertained outside, in all weather. Mark built an enclosure, set up propane heaters, and they have held court there for the entire pandemic. They have always been serious cooks, and as the DIY guy that he is, Mark has assembled a collection of grills and slow cookers, and thermometers and monitors, and basically spends his weekends grilling for their guests.
They live in Brighton, and have assembled a group of local friends that goes back many years. (I worked with one of their friends, Bert, at Archivas, 2005–2009.) In the Before Times, Mark, Anna and friends also enjoyed sampling the local music scene, at the same sort of venues that we visit, so we have gone to many concerts with them.
The protocol for getting together with Mark and Anna goes as follows: I write to Mark and Anna and say, we haven't seen you in a long time, if you have emerged from isolation, why don't you come over for dinner? And of course they haven't emerged from isolation, but they grill for everyone every weekend, so they turn the invitation around and we visit them. Outdoors. This time, we brought a vat of Last Word cocktails for everyone: gin, green chartreuse, Maraschino liqueur, and lime. It is far less vile than I thought it would be from the list of ingredients.
Besides enjoying Mark and Anna's company, and the steak and
cocktails, I made use of Mark's tools. He does have a belt
sander. But he also had one of those expensive saws that Rockler
showed me, (a bandsaw, I think), and in 5 minutes, I had the work
done. I even did the sawing myself, after Mark advised me to remove
my long-sleeved shirt for safety. Here is Mark's saw, angled just
so, to match the angle of the breasthook edge.

Mark declined to be photographed, but he is
definitely just
out of frame in this picture.

My sawing mostly stayed on the lines I
marked, and the breasthooks now match the templates
pretty well.
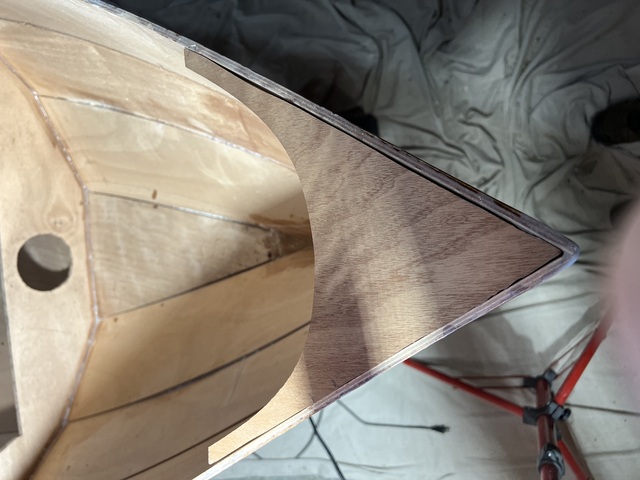
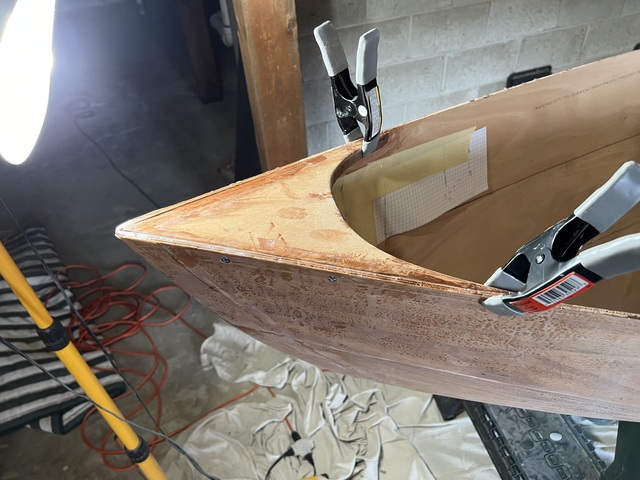
So, with the modified breasthooks, I returned to Maine and prepared to
install the breasthooks. And they fit! Mostly!


There are two errors here, due to my trimming not following the
guide lines exactly. In some places I trimmed too much. I'll have to fill
those gaps with epoxy and sawdust. In other places, I trimmed too
little, which prevent the breasthooks from fitting as well as they
could. So I finally got to use my vise, to sand down these spots
where I trimmed too little.
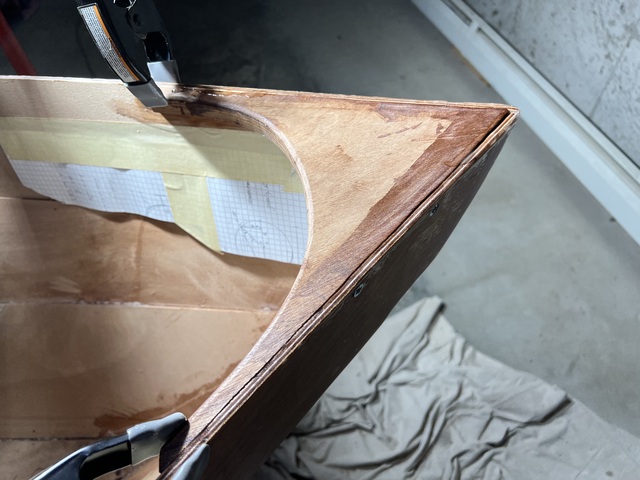
Close enough, I'm declaring victory.
The interior edges of the breasthooks are quite sharp, and I needed
to smooth them out, to prevent future injuries while sailing or just
carrying the boat. So more googling, and I discovered that I
actually already owned a tool that would do the job, a shinto rasp:
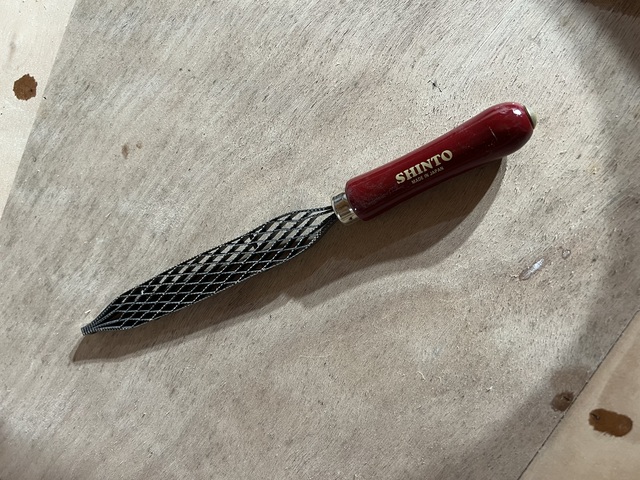
And that worked nicely.

So the breasthooks are ready to install.
Installing the breasthooks involves three steps:
Actually, drilling the holes was easy. I became wise in the ways of
woodscrews and countersink drill bits. Woodscrews have flat heads
with tapered sides, and countersink drill bits drill a matching
tapered shape. When the screw is screwed in, it lies flush with the
surface, or slightly below it. I bought the necessary hardware,
measured the hole positions carefully, so that I would drill into the
middle of the edge of the breasthook, and drilled the holes. Audrey
helped make sure that I was aiming the drill parallel to the floor
(and therefore to the installed breasthook).
Time for mustard consistency epoxy again. I mixed a few ounces, and applied to the breasthooks and boat interior. Actually, before doing that, I taped up the wood below the breasthooks, to avoid epoxy runs.
Then, I put the breasthooks in place, and screwed them in. I guess I didn't drill deep enough, because two of the four screws didn't go in quite deep enough. And using more force wasn't doing anything other than start stripping the screws. So they stick up a bit, like 1–2 mm. I hope that I'll be able to compensate for this later, by sanding out the interior of the rails.
And that's it! The breasthooks are in.
But like I said before, it wasn't pretty. When I shaped the breasthooks, I trimmed too much in a couple of spots, so that left gaps between the breasthook and the edge of the boat, maybe 3 mm. I thought I would fill that in with my mustard consistency epoxy.
So I tried that. And the epoxy kept seeping down, and dripping, leaving the gap unfilled. So I kept cleaning up the drips and adding more epoxy. That wasn't helping. So I kept adding more and more silicon to thicken up the epoxy. We're now past mustard territory, and into, umm, I'm not sure, marshmallow interiors? peanut butter (smooth, not chunky)? Anyway, thicker than mustard consistency. The seeping seemed to stop. I'm sure there will be cleanup required.
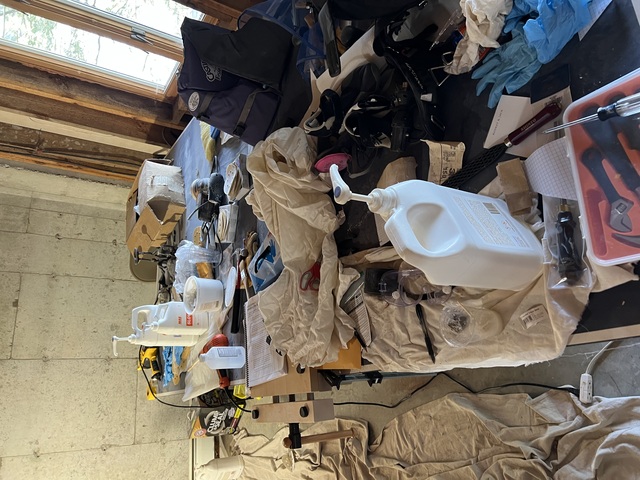
You know what? My work area is a mess, time to clean it up.