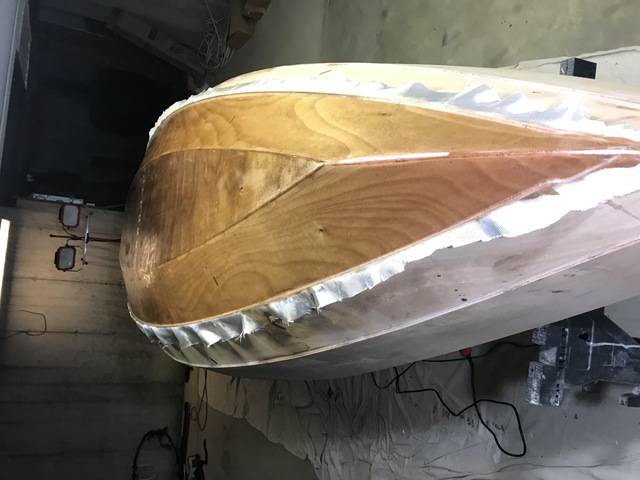
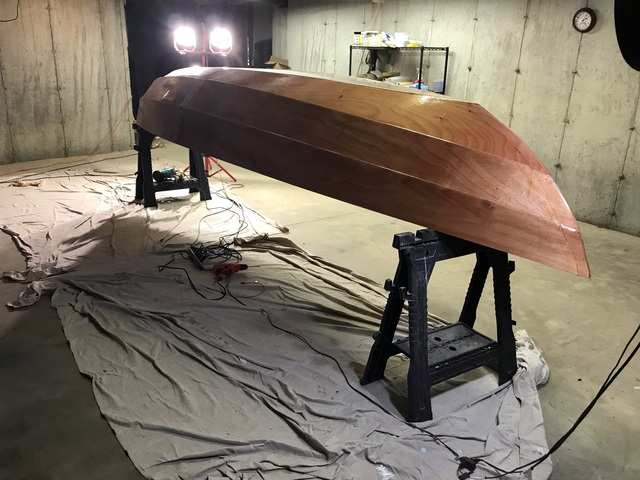
The hull is repaired, and I've done more gluing and sanding, so I'm ready for the part that I have long dreaded: fiberglassing. This involves covering the bottom of the hull with fiberglass, and sealing the fiberglass with epoxy. I have dreaded this part because epoxy is unforgiving, and I have needed a lot of forgiveness. Add to this the fact that a new material, fiberglass, is being added to the set of things I will get wrong. Actually, I had a little experience with fiberglass, applying strips to the stem and stern on the inside, and this went not too badly, so I'm ready.
I have been neurotically discussing each step of my work with both support people at CLC, and with the expert builders on the CLC forum. It was in the forum that someone suggested applying a "skim coat" of epoxy on the hull before applying the fiberglass. You see, plywood is basically seltzer. Yes, it has air in it, and this air emerges over time. (No, I didn't know this either. Does this mean that plywood can go flat too?) So when you cover the plywood with fiberglass, and then cover that with epoxy, the air bubbles that emerge get trapped by the fiberglass and epoxy, and become visible. This is especially true (as I learned) when the temperature is rising as you apply the fiberglass and epoxy.
So the forum's advice is to seal the hull with a thin layer of
epoxy, sealing in the air before the fiberglass goes on. I did that, and
for once, for the very first time, this seemed to go well, without any
disasters.
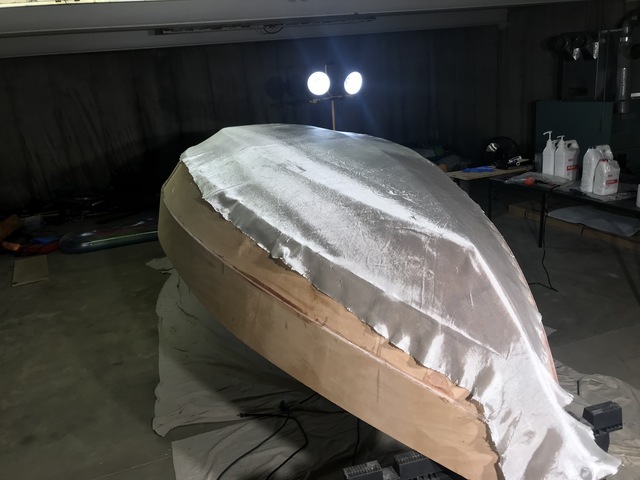
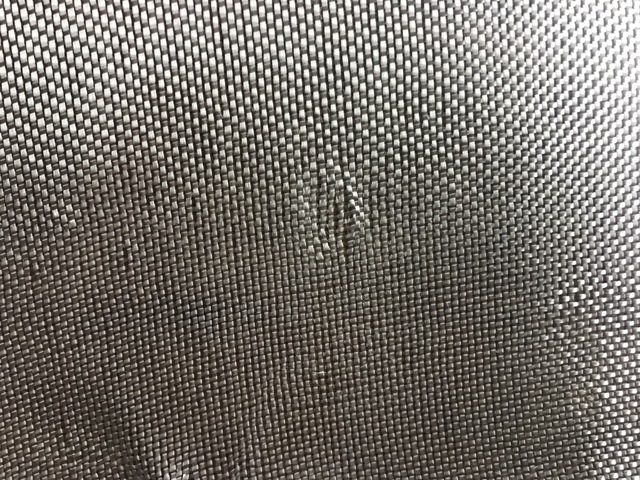
I thought that this part, at least, was easy. Toss the fiberglass over the hull and trim it so the glass extends past the boundary between the first and second panels. Wrong again.
I did toss the fiberglass over the hull, and then I noticed that
the weave was extremely uneven in parts.
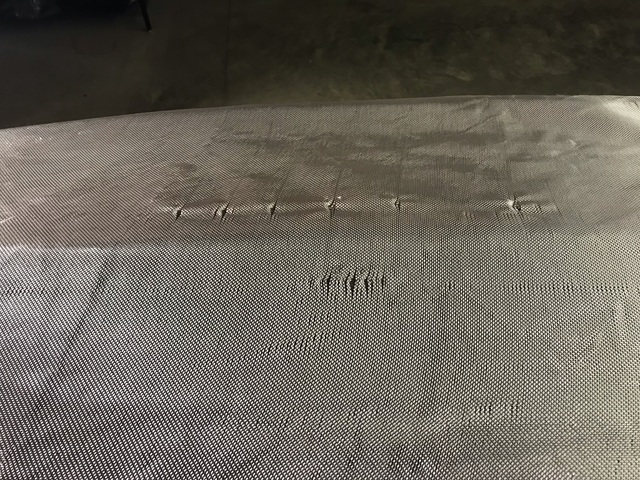
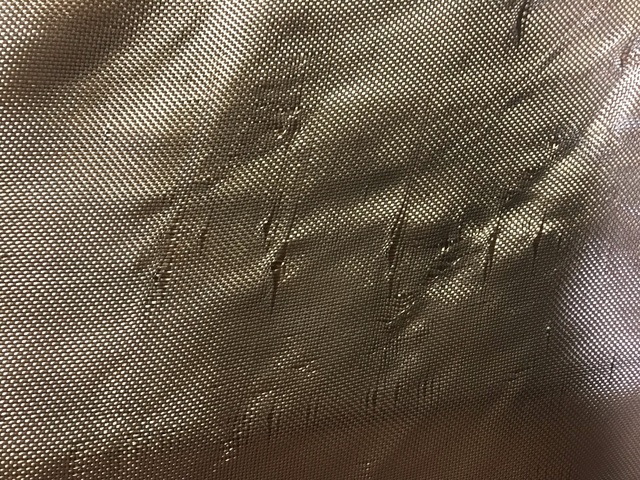
So I wrote to the CLC forums, and a guy who has answered my questions a few times, spclark, provided an answer. (He's the guy who posted photos of an inhumanly perfectly glued and glassed boat in response to an earlier question.) Spclark's advice was to take a small paintbrush, trim the bristles to 2/3–3/4 length (shorter bristles are stiffer), and use that to push and prod the weave into position. I was dubious.
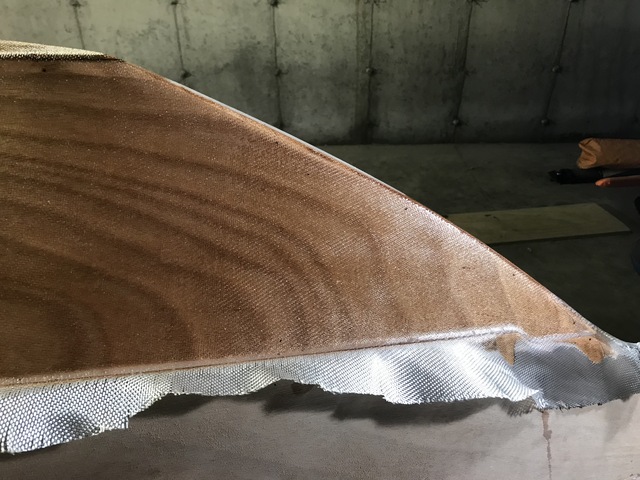
First, I draped the fiberglass over the hull and smoothed it
out. (Only the bottom and first panel are being glassed, so the loose
glass on the second panel is fine, that's going to be cut away
shortly.)

Then I trimmed the fiberglass.
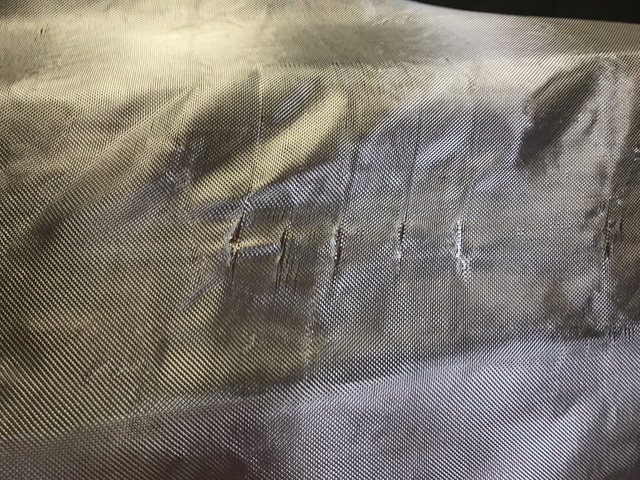
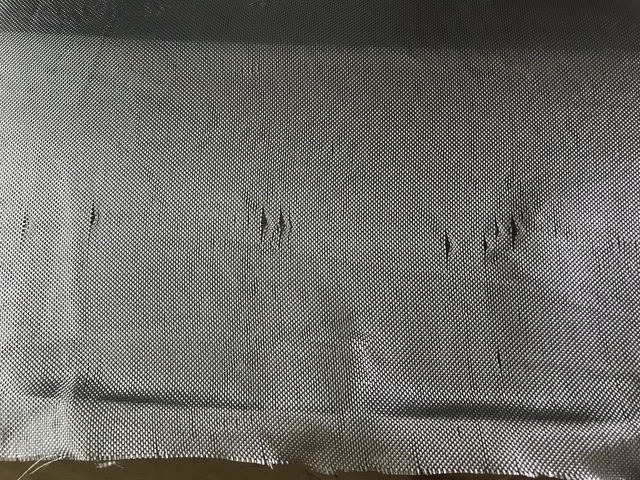
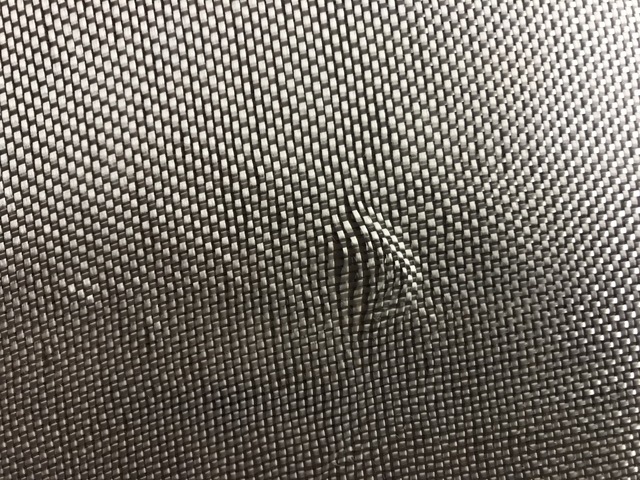
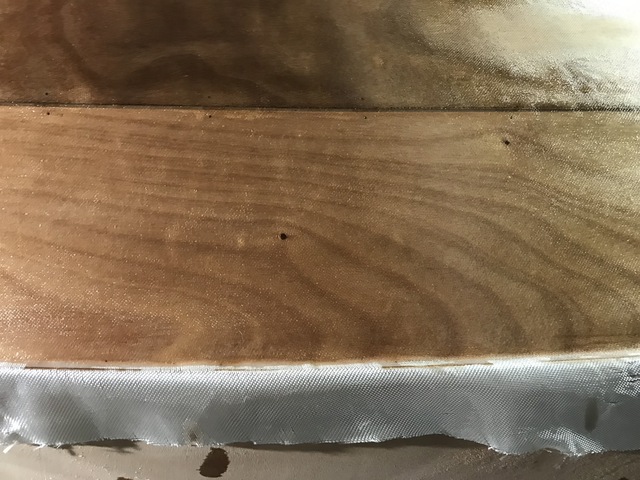
And then it was time to address the imperfections in the fiberglass. Like I said, I was dubious that I could literally brush these problems away. Fiberglass looks like a fabric, but the threads are very fine, very flexible glass. If there were similar imperfections in an ordinary piece of cloth, I would think "rags".
But sure enough, just brushing the fiberglass as spclark described did in fact do a very good job of pushing the fibers around and minimizing the imperfections in the fabric. We have all used digital drawing tools, in which you have an "eraser", you move it back and forth over the thing you want to fix, and the thing is magically fixed. That's what this is like, except for real, physical objects. Truly magical.
Here is the before and after from one part of the fiberglass:
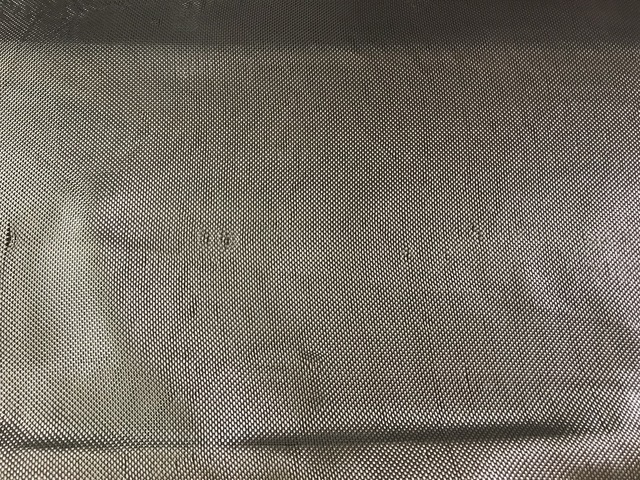
And a closeup:
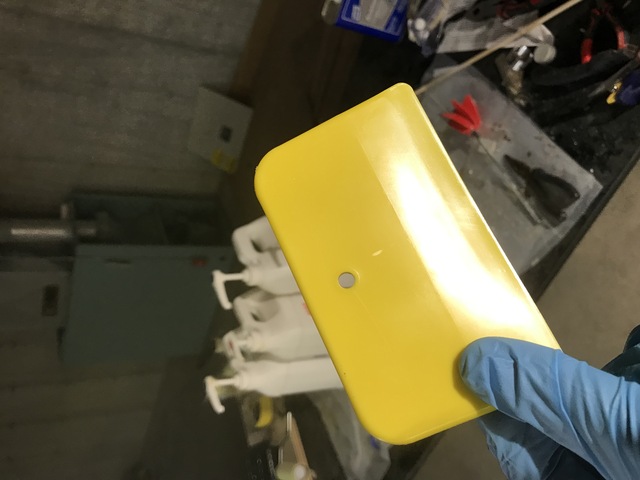
To apply the epoxy over the fiberglass, I need a squeegee, or a
"spreader". It's just a slightly flexible piece of plastic that
spreads the epoxy over the fiberglass. Because of my anxiety caused
by working with physical objects, I decided that I must have the exact
right squeegee, the one that is shown in the Chesapeake videos.
I figure that this is an easy thing to find, so I go to the hardware store in Wakefield. They don't have it. I then decide to continue on to Rochester and look at Lowe's. There is a torrential rainstorm going on, but I go, essentially driving through a car wash for half an hour. While I'm driving there, Audrey calls and says, "it's time". The refrigerator, which has been in the house since we bought it, 20 years ago, and dates back to the 1980s, is not working, and probably not worth fixing. Could I pick up a refrigerator while I'm at Lowe's.
They don't have the squeegee at Lowe's.
So I spend the next hour and a half looking at refrigerators, getting model numbers and measurements from Audrey, reading reviews, talking to a salesperson. I finally settle on the refrigerator that my children will inherit some day, and buy it.
I drive home, again through the car wash, empty-handed, but with a promise of a refrigerator delivery in a few days.
I ordered the squeegees online.
I ran out of ways to delay this step, so I finally had to epoxy the
fiberglass. It is pretty cool here today, so I opened the door to the
work area and set up a a fan blowing out, but I still put on the mask
and goggles, since I'd be using a lot of epoxy.
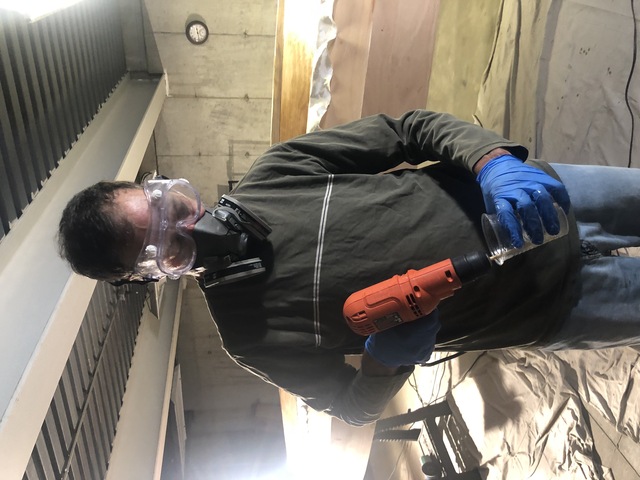
I spent a couple of hours alternating between mixing epoxy, and then applying it, using a squeegee for most of the boat, and a brush near the stem and stern, and along the end of the first plank (i.e., the bottom of the area I worked on today).
I have been mixing very small batches of epoxy so far, (since my
hockey puck bomb), but mixing 2 oz. at a time was going to result in
extremely slow progress. I decided that it would be alright to mix
4–6 oz. at a time, reasoning that the epoxy was going to be
poured out very soon after being mixed, well before a hockey puck bomb
could form. I worked up to it slowly, starting with a 3 oz. batch,
increasing by 1 each time. That worked out fine.
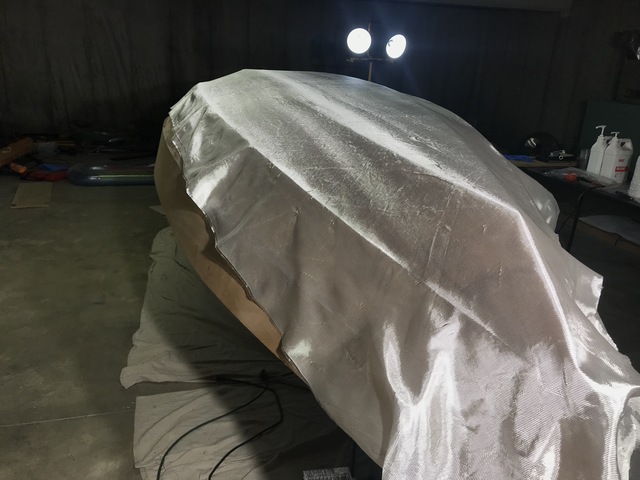
It is now about one hour after applying the epoxy, and the exit polls indicate that things went pretty well.
Most importantly: I do see a resemblance between what I did, and
the boats I saw in online tutorials about glassing.
A little closer:
And closeups:
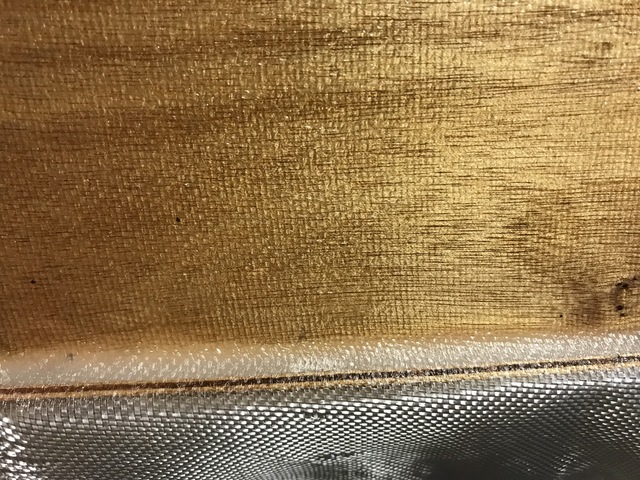
Of course, exit polls are notoriously inaccurate, so I'll check in tomorrow once the epoxy has cured, to see if the early results hold. Not to get ahead of myself, but I think it helped to be very stingy with the epoxy. One problem I read about was using too much epoxy, which causes the fiberglass to "float" off the wood, or to be so thick that the weave doesn't show through. My very first experience with epoxy was way too heavy-handed, so that taught me to go lighter with the epoxy.
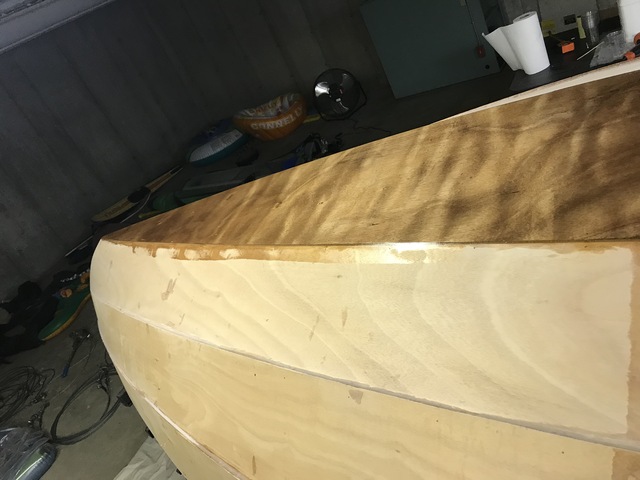
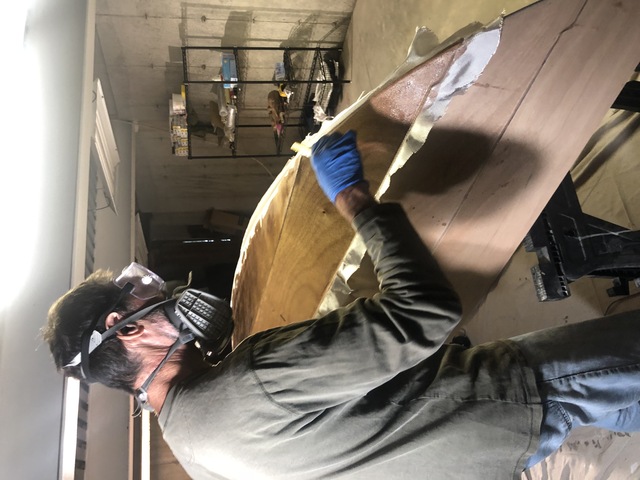
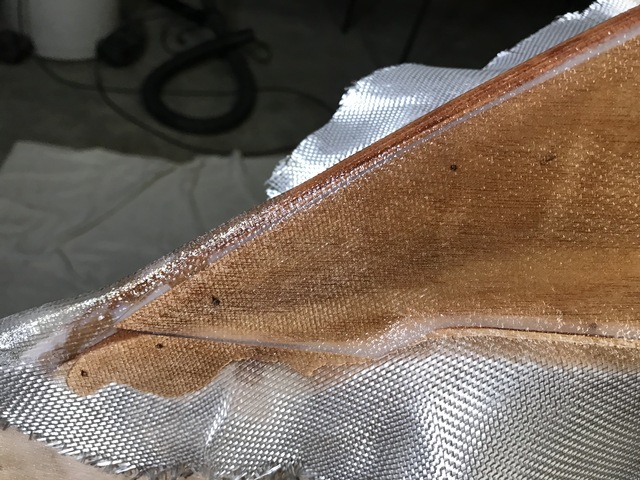
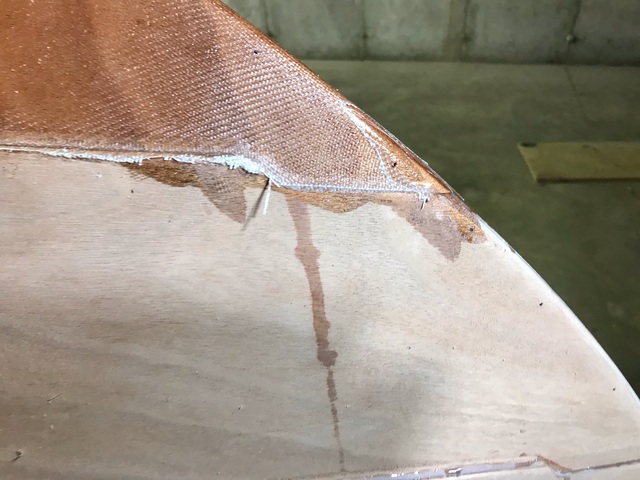
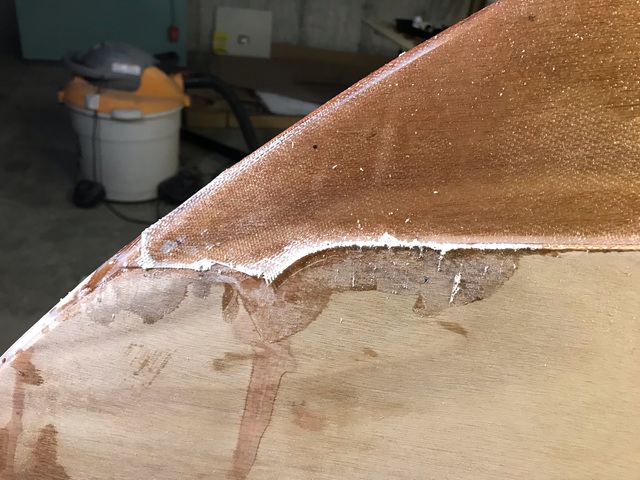
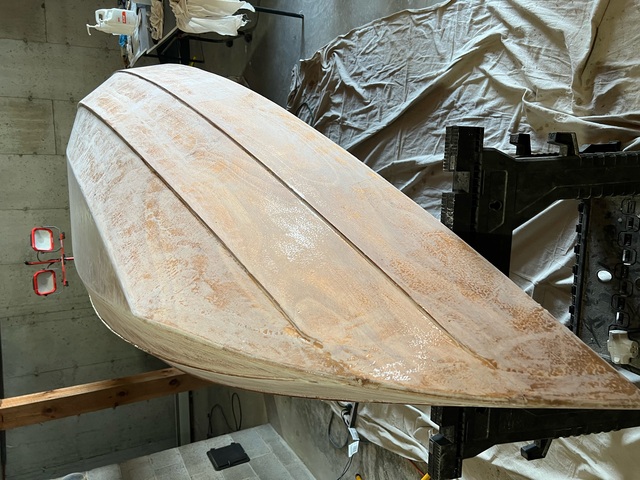
One day later, the surfaces look pretty good, and I trimmed the excess glass, past the first panel. However, the boundary between the first and second panels is a bit messy, and extremely so at the stem and stern.
Look at this mess.

Just look at it.
Back to the CLC forums to get rescued again.
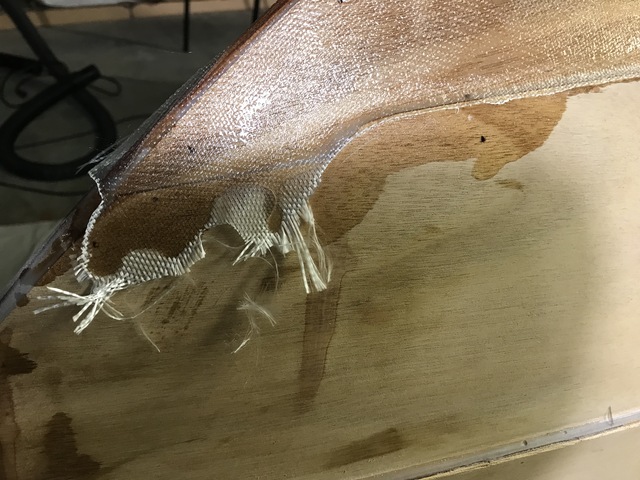
I need to remove the fiberglass that adhered to the wood past the
first panel, and clean up the excess epoxy. There will be a few parts to this
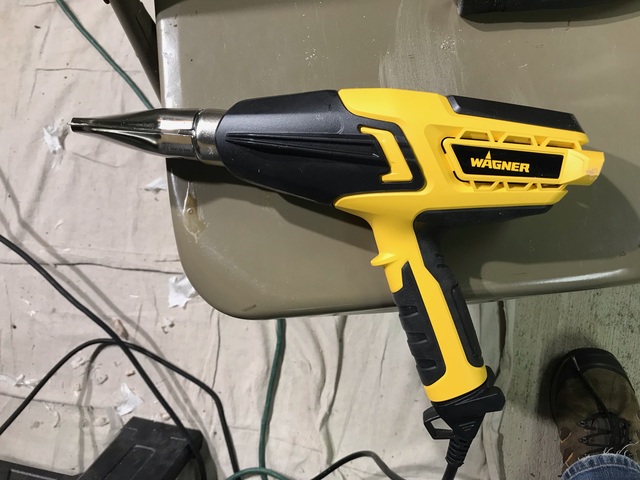
For today, I needed to use a heat gun to melt the offending epoxy, cut off
fiberglass where it shouldn't be, and scrape off the softened epoxy. So today's
tools are a heat gun:
A scraper:
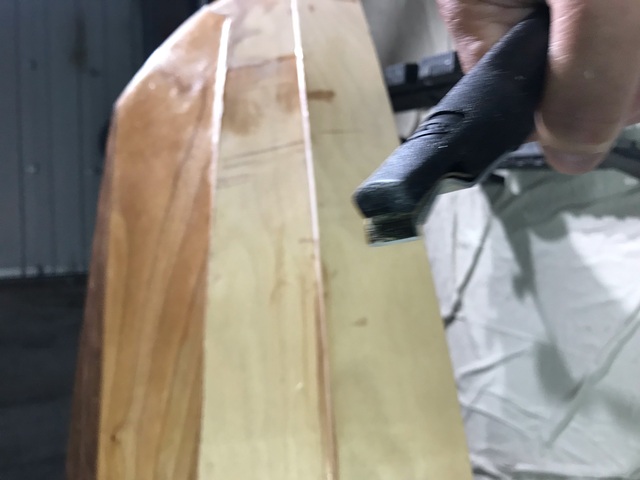
And a knife:
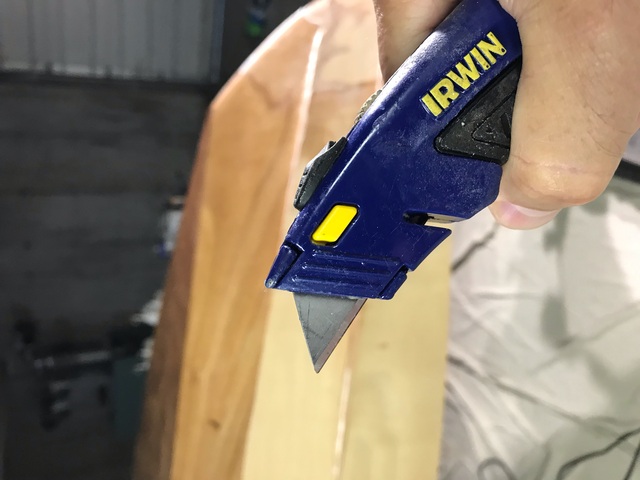
This all worked surprisingly well. The heat gun heats up rapidly to 650 — you could cook with this thing. It does a good job of melting the epoxy, and then the fiberglass is easy to lift off or scrape.
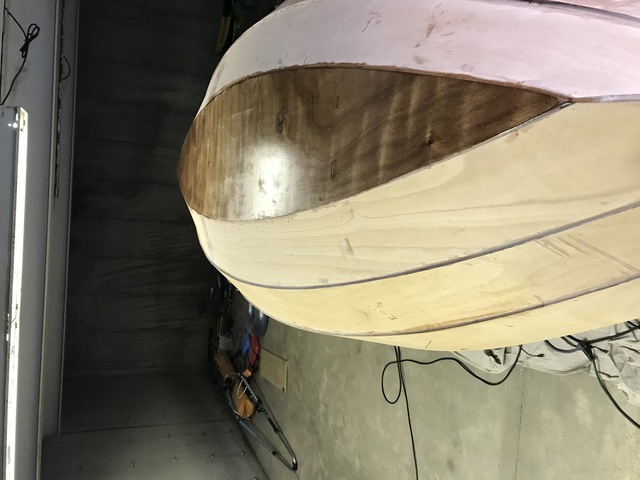
Here are the stem and stern now. I remove some fiberglass from the
first panel also, because it wasn't lying against the wood. I'll
patch that up later.


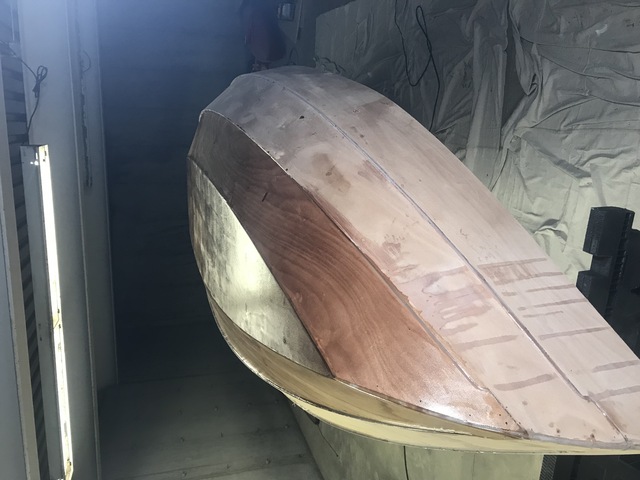
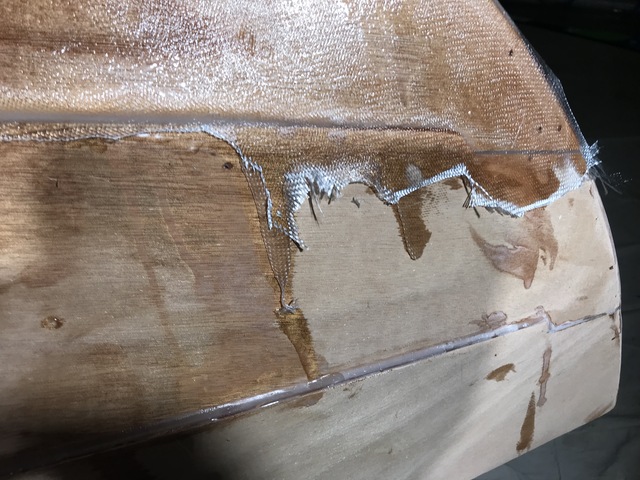
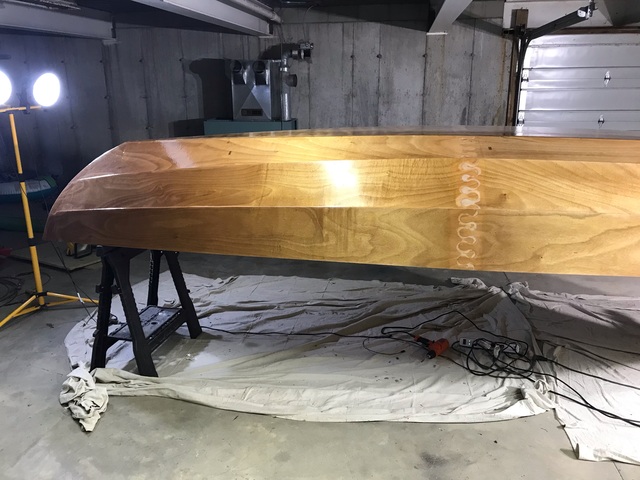
There are more runs visible, following this part of the cleanup, but the surface is pretty smooth. I'm sure I'll be sanding and epoxying this more later.
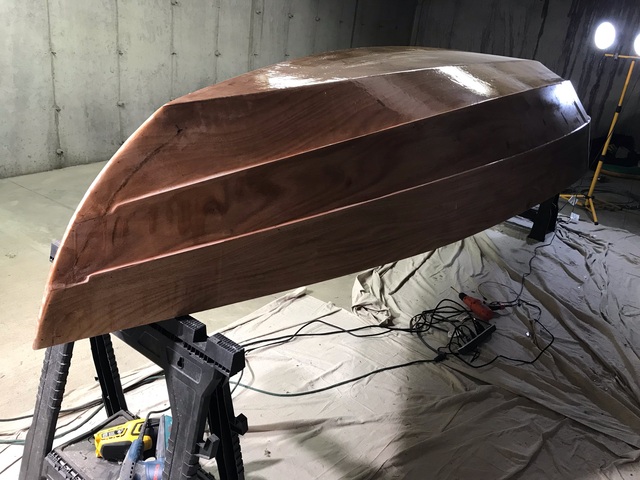
I've been doing a few rounds of sanding and applying more epoxy to the bottom and first panel. That's looking good, so the next thing to do is to apply epoxy to the remaining panels. This is somewhat of a relief, as I get to sand off the drips and runs, and then applying epoxy hides a lot of the remaining stains resulting from earlier mistakes.
It's looking better now, but the runs are still visible, and the
fiberglass strips applied to the stem and stern are highly
visible. Need to go to the forum to ask about those.

Almost forgot, I had a visitor for today's work.
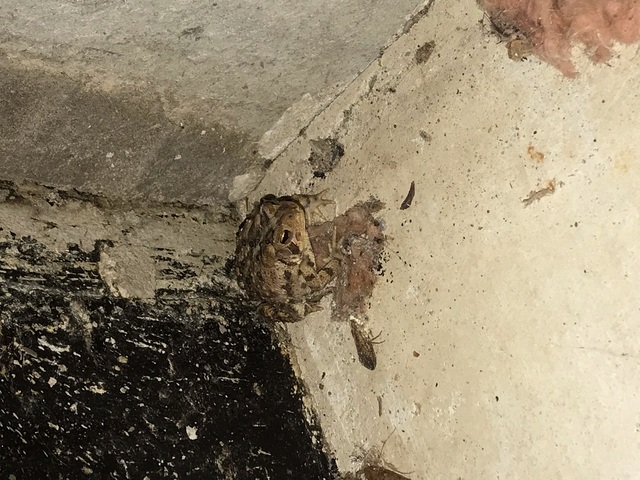
I escorted him outside.
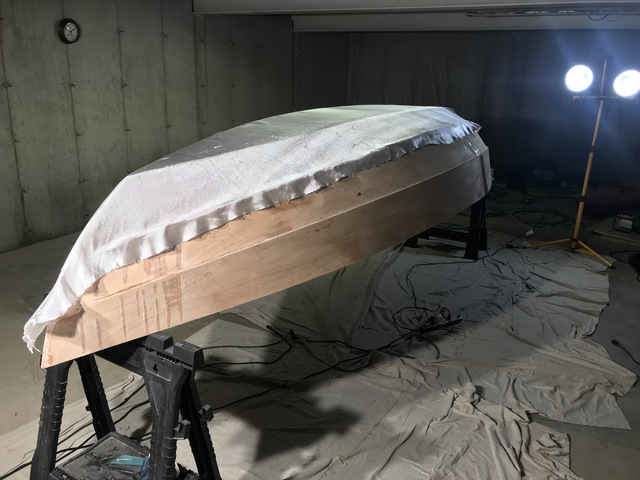
The last thing to do before finishing this exterior of the boat
(before painting, that is), is to sand it. On one hand, I need to even
out the surface, due to all the epoxy runs. On the other hand, I need
to avoid sanding into the fiberglass covering the bottom and the
panels next to it. Here we are after sanding with 80-grit sandpaper.
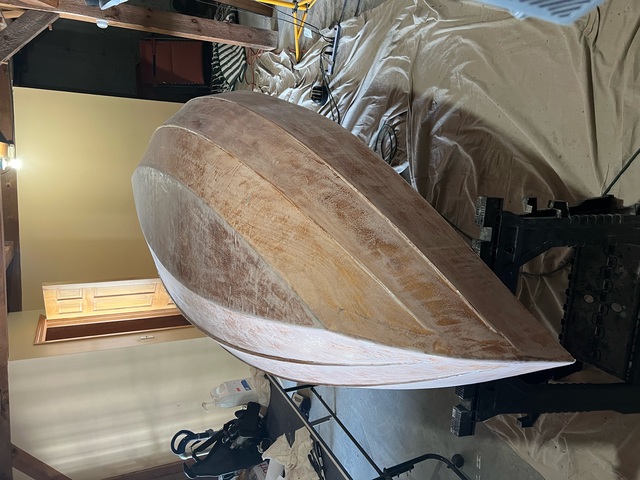
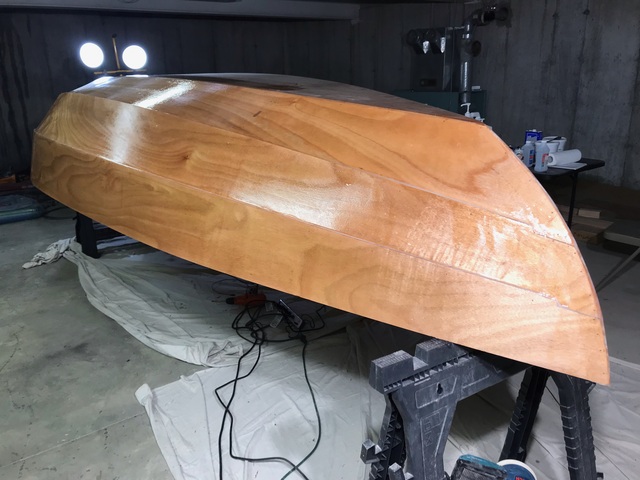
So I sanded the exterior of the boat. And it is not good. Ideally,
the surface would be perfectly smooth, and it is pretty far from that.
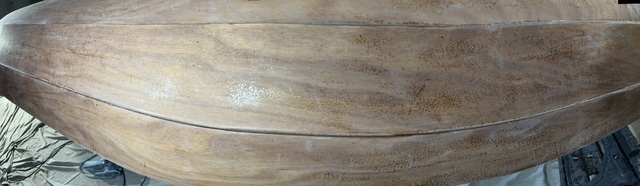
The surface is rough, because the epoxy went on quite unevenly. Adding more epoxy just maintains the uneven surface. The forum guys said to use "microballoons" or "fairing". The CLC support people advise trying epoxy again. I need to work this out, but it in the worst case, the boat will not have a perfectly smooth surface.