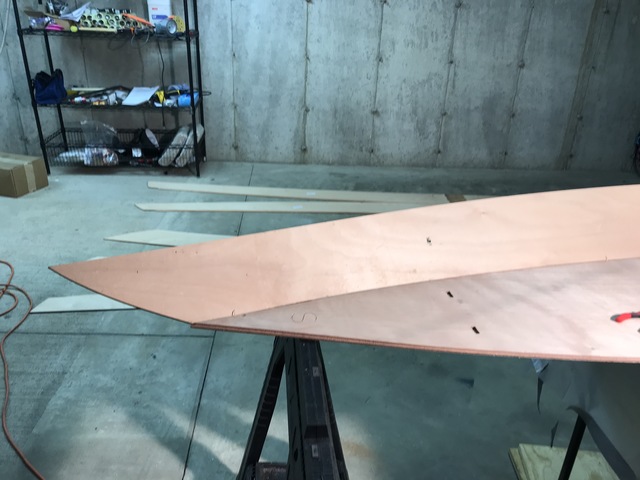
So now I need to drill little holes in the panels, and then use copper wire to stitch the panels together into an approximately boat-shaped object. But I can't quite match up the shape of the panels to what I see in the manual.
CLC support is really excellent. You phone them, and you talk to someone who has built several of these boats, and can address your question in detail. There is no idiotic script being read by a guy in a call center, e.g. "Did you plug in your sander?"
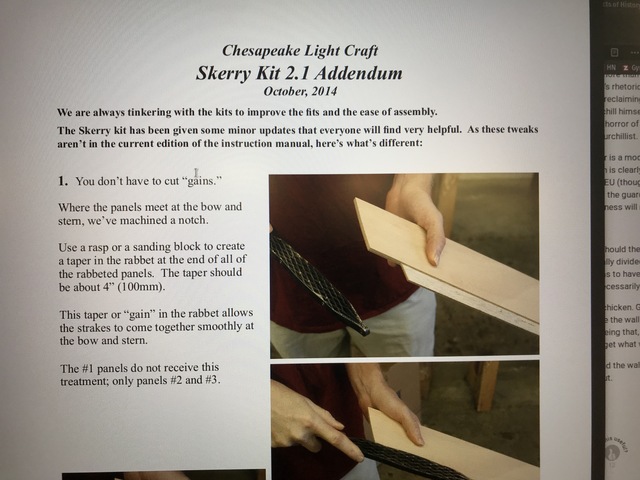
I called CLC support to figure out my problem, and then the call took this weird turn, and all of a sudden it felt like software again. "What version of the manual do you have?" I thought that I was building something timeless, handed down from Viking ancestors across many hundreds of years. (Not that Vikings would have used epoxy and fiberglass. But still.) But no, this is 2019, and so this thing has versions, and the version numbers have dots, just like software. The cover of the manual says that I am building version 2.0 of this boat. I learn that there is a 2.1, and that I have 2.1 parts and a 2.0 manual.
So there is good news and bad news. The good news is: 1) I don't have to drill little holes, they are already there in version 2.1. They were just too tiny for my ancient eyes to notice them without a close inspection. 2) I don't have to "cut gains" in the panels. Another new feature in version 2.1. Instead I just have to sand down a few surfaces to taper them. 3) There is an addendum to the manual that explains all the differences between the 2.0 manual and my 2.1 kit! The only bad news is that they didn't send it to me. But they could mail me a PDF. So yes, very much like software: versions, dots in version numbers, updates that can be emailed to me.
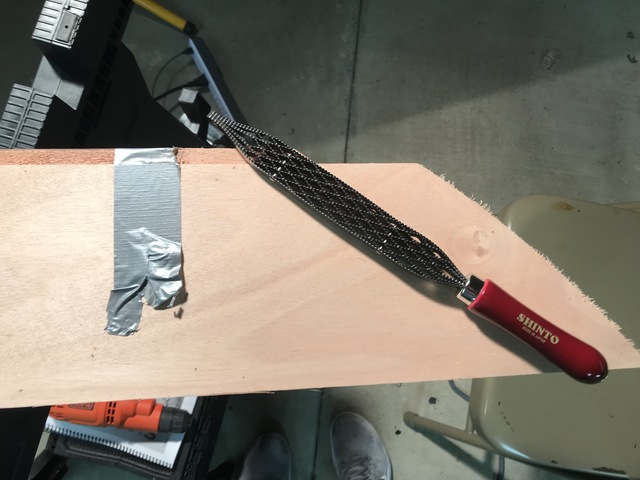
I get to use a new tool.
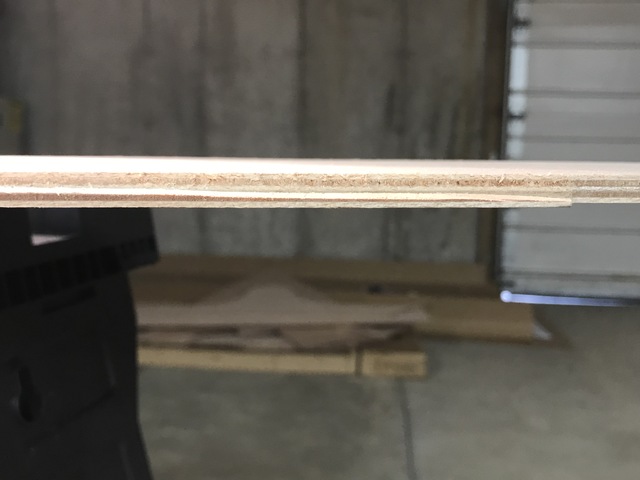
Tapered
Building this boat is not really woodworking, since I am starting from a kit. I don't have to fell a tree, saw out planks, and then carve out the pieces of the boat, which I then assemble by cutting perfectly matching halves of a joint. This project is more like assembling a model as I did when I was a kid. They send me the parts and I glue them together. Except that this isn't a model, it is is a life-size boat, and I will be placing my live body in it eventually, and relying on it to not kill me.
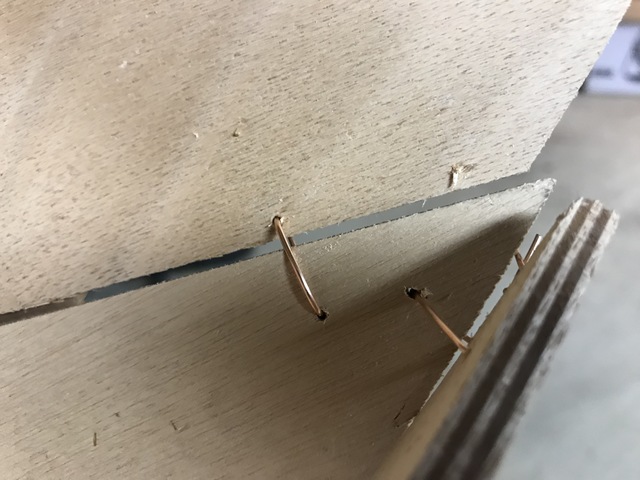
This is the part where the assembly becomes 3-dimensional, and the boat begins to be recognizeable. This starts by stitching the panels together using copper wire. Then I make the shape permanent using epoxy and fiberglass.
I've got a lot of copper wire, and these clippers.
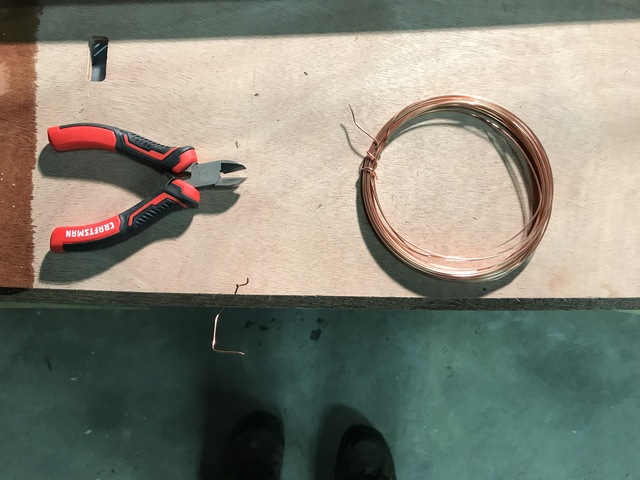
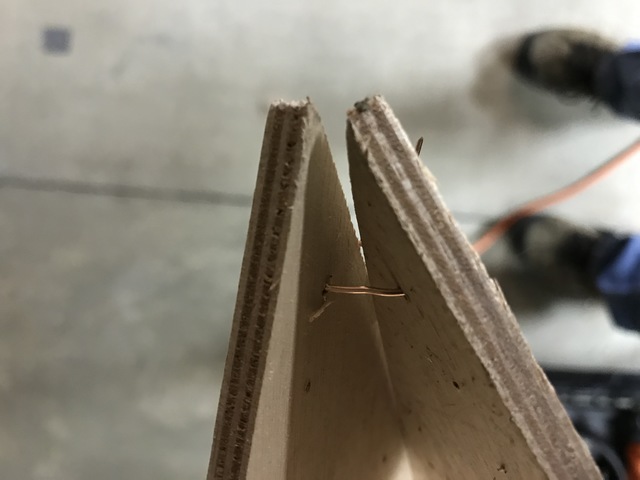
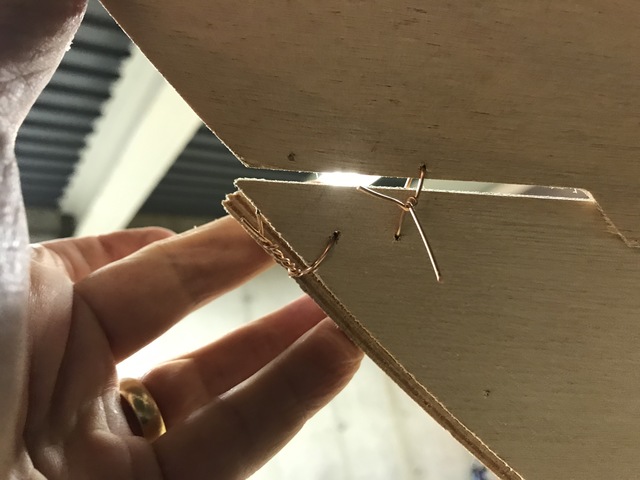
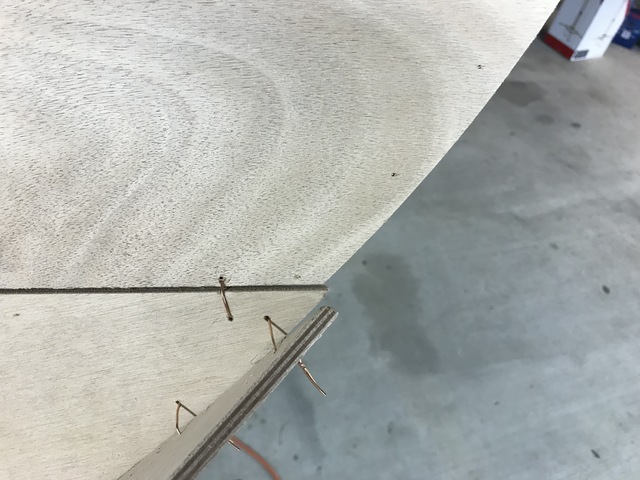
The wire goes through holes in the panels.
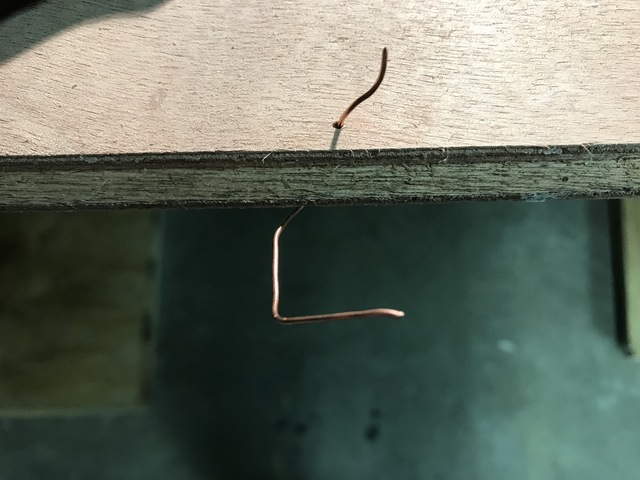
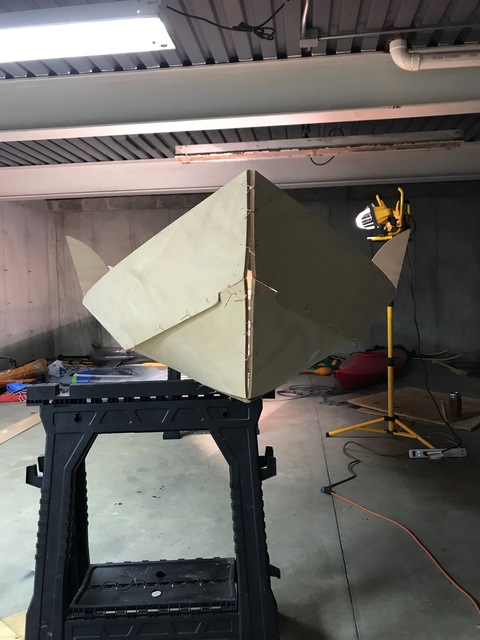
The panels don't quite fit together when lying flat, but the
plywood bends, and the stitches hold the bent side panel to the
bottom panel.
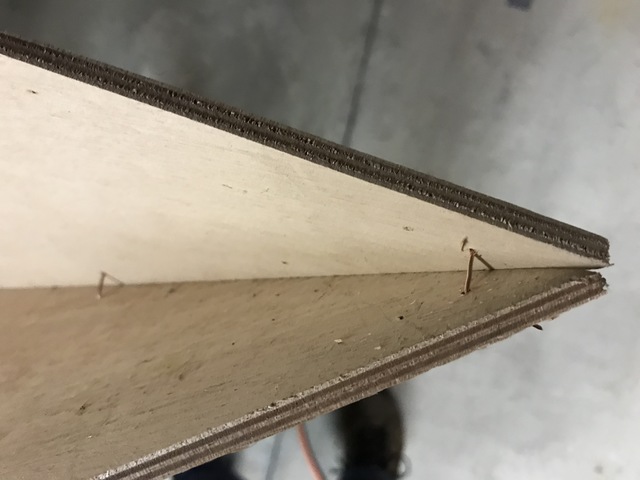
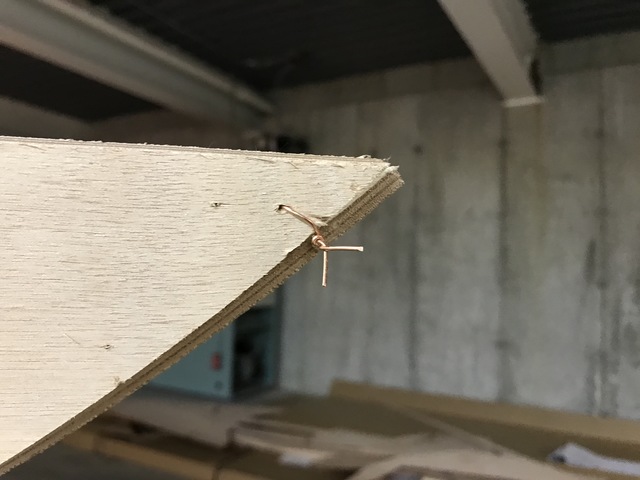
A fair amount of force was required to bend the panels so that the
bow and stern come together, and then the wire holds them in place.
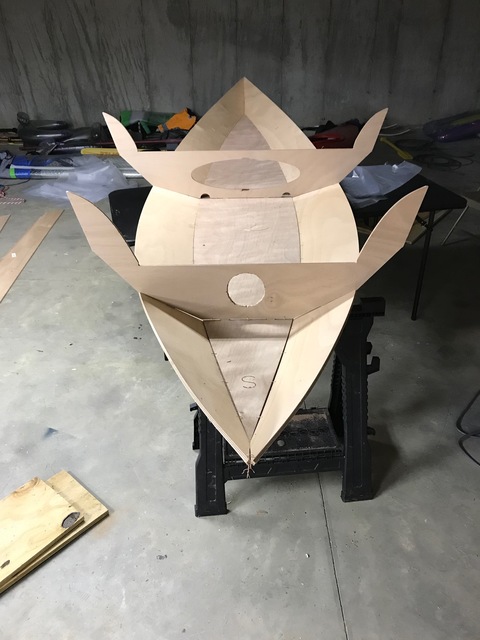
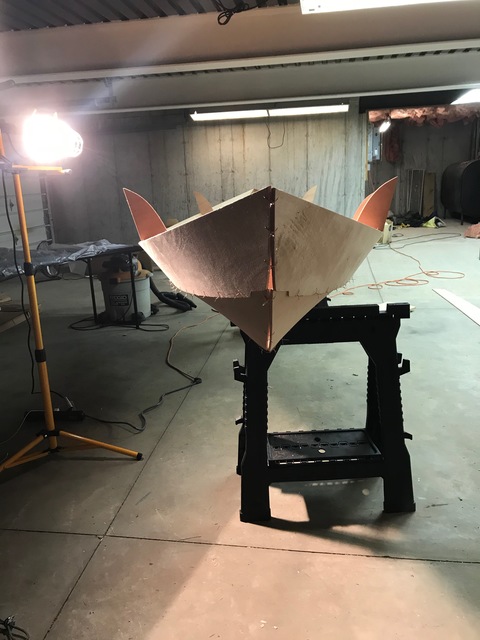
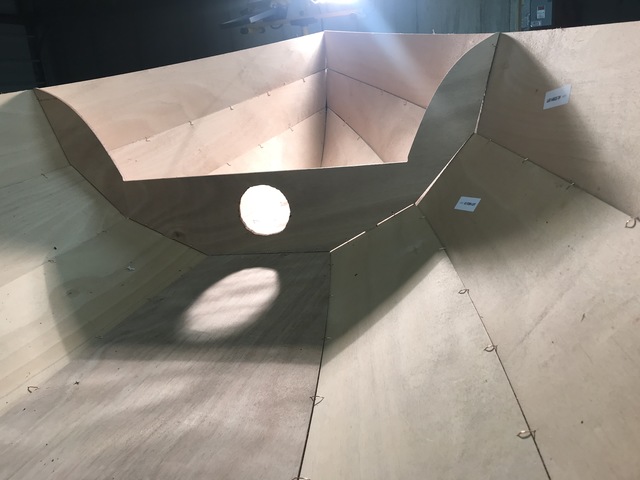
There are three vertical sections ("frames") that add
support. These get wired in too. So far, the bottom and first side
panels are assembled.
The middle frame goes in first.
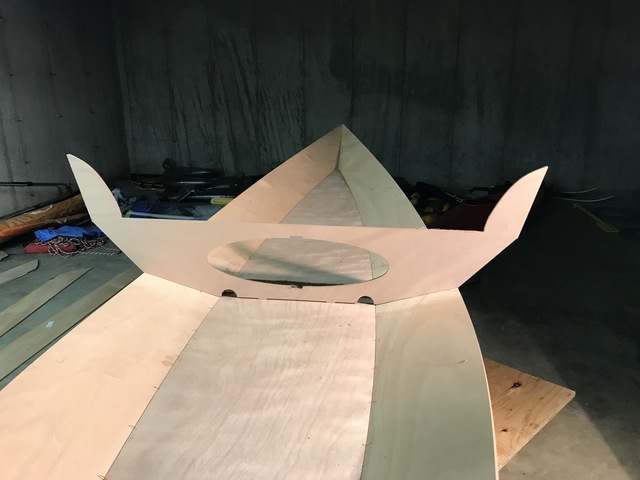
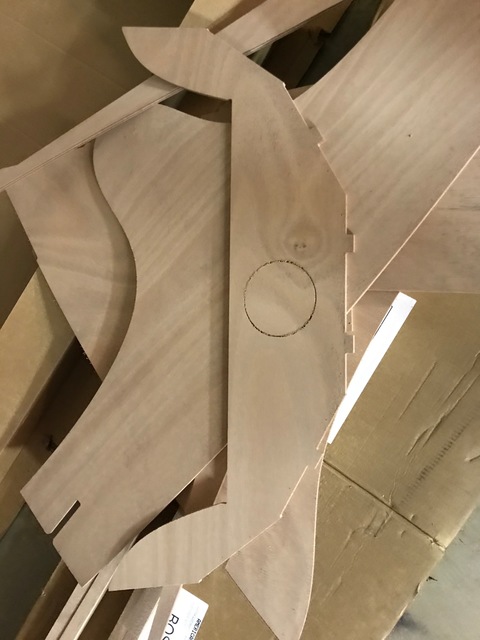
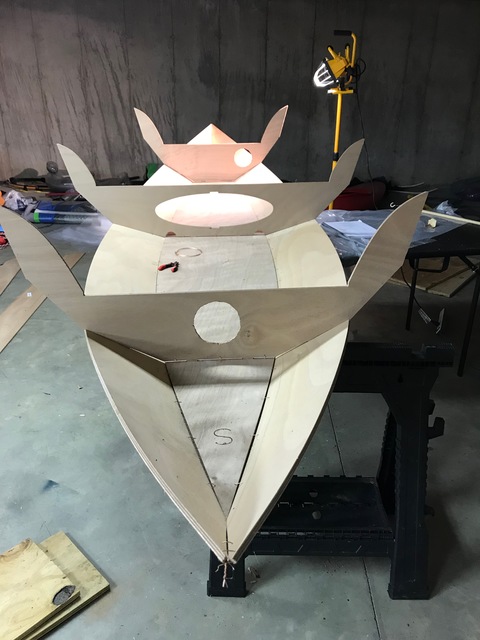
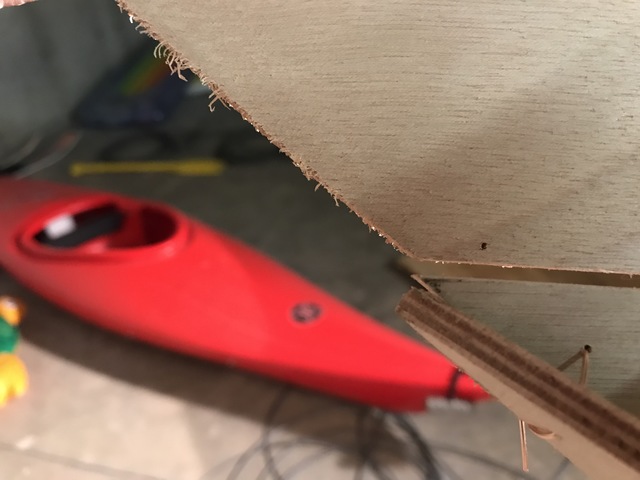
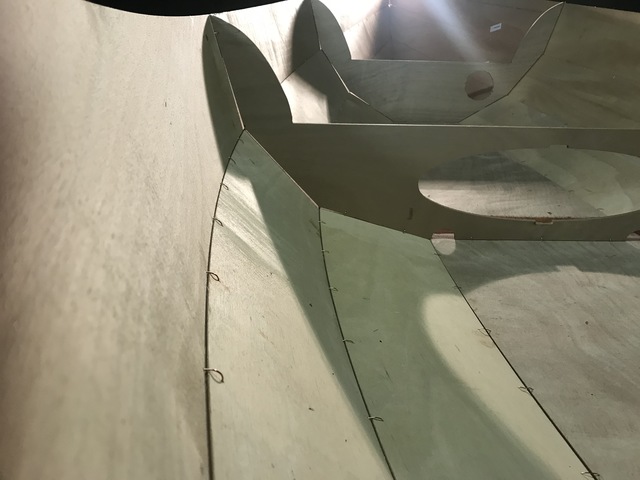
Now I notice that the front and back — SORRY — fore and aft, or bow
and stern panels, have these circles carved into them.
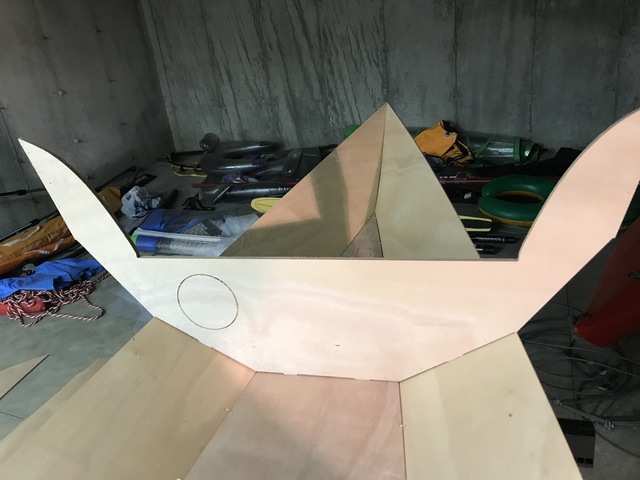
Time for another call to support. I'm supposed to cut out those circles, to install plastic covers, so that the frames don't have these permanent holes, yet I can remove the plastic cover and access the front and rear compartments that would otherwise be inaccessible. And, of course, I don't have the tools to cut out the circles.
I contemplated just not bothering with this step, and leaving the frames solid. I mean, it's not like I'll be crossing an ocean, and will need to access these compartments to get non-perishable, theoretically edible food, or a flare to attract nearby cargo ships for rescue, or a surgery kit to remove my own appendix. But whatever, I decided to cut out the holes.
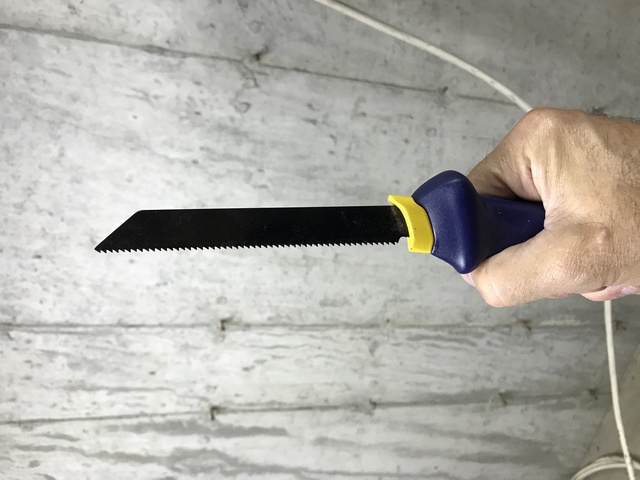
The support person at CLC suggested I get a saw with a thin blade,
drill a hole to get started, and then carve around the circle. I go
to the hardware store and I can buy either yet another $50 electric
tool, or a $12 hand saw. It's not a lot of cutting, so I opt for the
hand saw.
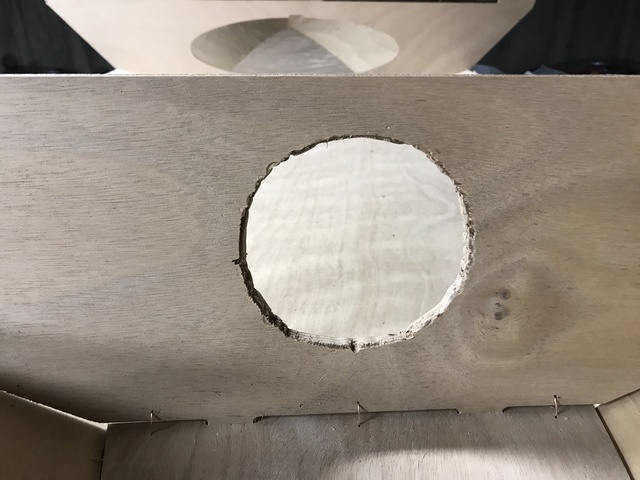
This didn't work out remotely like the CLC support person said. The width of the blade, and the degree of curvature really didn't go together, and I just couldn't follow the curve. So I hit upon the idea of drilling a series of holes around the circle, and then using the saw to connect the dots.
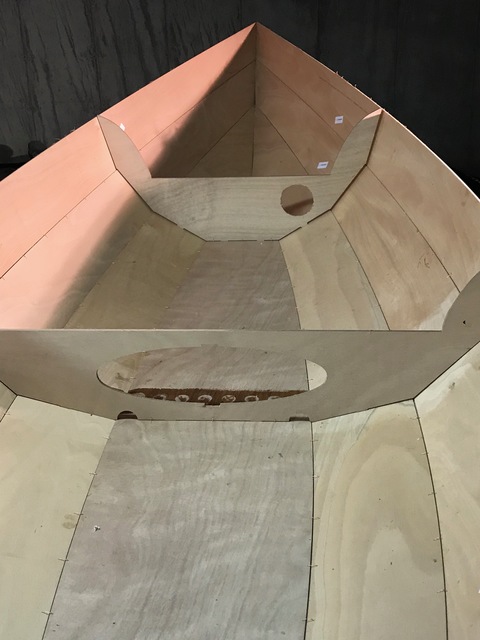
I did end up cutting a hole, but it sure isn't pretty. At least it
will be covered by a deck plate eventually (the plastic removeable
cover).
Second frame installed:
With the final frame:
So now that the first panels are attached, and the frames are in place, I need to attach the second panel on each side. The bottom edges of the second panels connect to the top edges of the first panels, and their faces connect to the middle straight edges of the frames. In other words, I'm building up the walls of the boat.
Doing this task led to another realization. I am a precise and cautious person by nature. To me, "measure twice and cut once" is crazy and irresponsible, it's like riding a motorcycle at high speed, through Manhattan traffic, in the rain, blindfolded. My approach is to measure once. Measure again and sleep on it. Buy a new ruler, because the first one was probably warped. Then measure a few more times. Then get another ruler, and hope for best of three. And then, eventually cut. I am used to software, where things either fit together or they don't. So when it comes to physical objects, I try to be very careful, because I think, again, that things either fit together or they don't.
And that was the attitude I brought to making this boat. I started
with the kit, whose parts were cut by a CNC machine. Precisely
shaped parts that fit together perfectly, or so I thought. Attaching
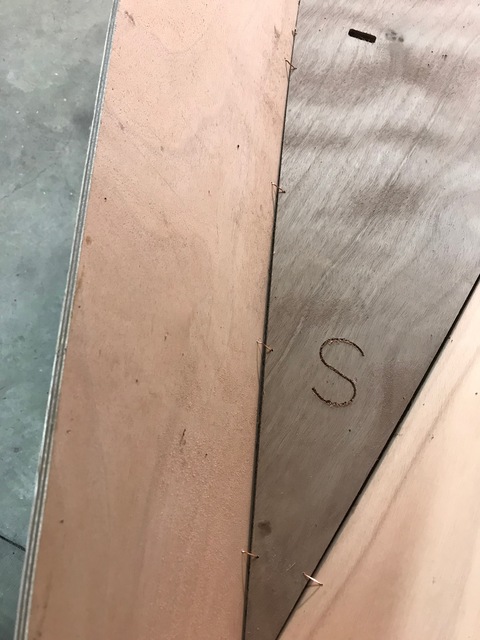
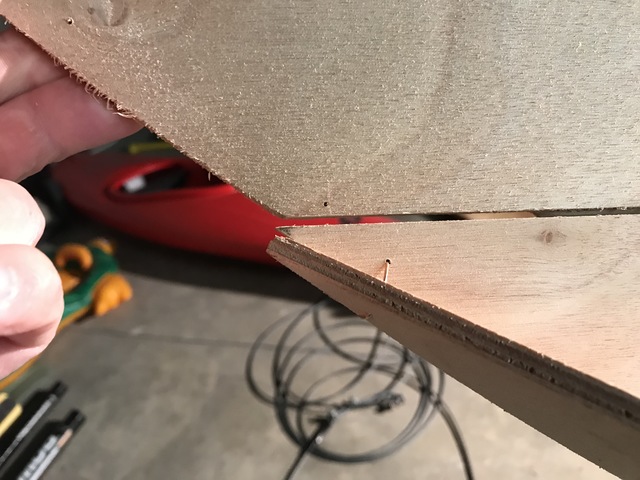
the right side second panel, I followed the instructions. Using the
copper wire again, work from the bow end toward the stern. And when
I got there, the second panel looked to be about 2 mm. shorter than
the first panel it connected to.
The bow end (where I started) looked better.

And from a distance, things didn't look too bad. But still, I
thought that the parts needed to fit together better.
Back to CLC support. They suggested starting over, wiring the middle, and then the ends, and then filling in the rest. The CLC forum also had useful suggestions: The middle of the boat should sag. Just put the two ends on sawhorses, and let the bottom sag. So I did that overnight, and went back to work in the morning.
The next morning, there was more feedback on the forum. And then I realized that maybe this engineering paradigm I had in mind was wrong. I can't find the original link, but I did run across a CLC video that shows what you do with boats that get assembled slightly off. You send them out with a Viking Funeral. So my paranoia, besides being natural, was justified.
But what I read the next morning made boat building, (at least, this stitch and glue approach), sound less like precision engineering, and more like creative cooking. Sure there are gaps. Sometimes big ones. You can fill those in. You can stretch things, and pound with a hammer. You can carry out chiropractor-inspired maneuvers to twist a boat into shape. It's all very approximate, and "if it looks right, it is right". The boat will be fine.
Well that changes things. I was just going to wire it up, and not
worry about millimeters. With my now saggy boat, I started
wiring in the second panel again, middle, ends, filling in the
rest. And even though it didn't need to (I guess, I don't quite buy
it), it actually came together better this time.
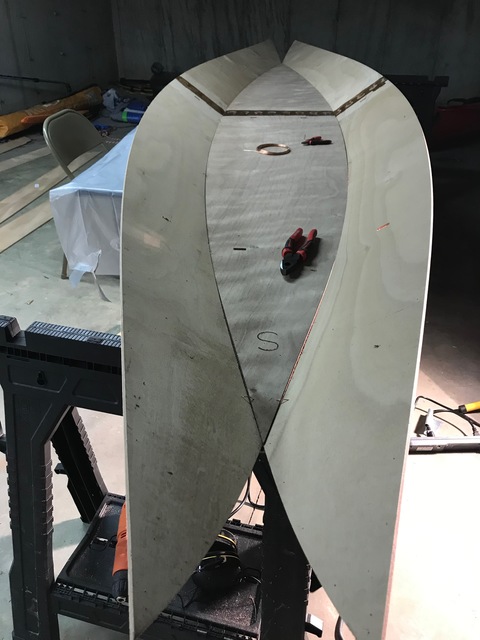
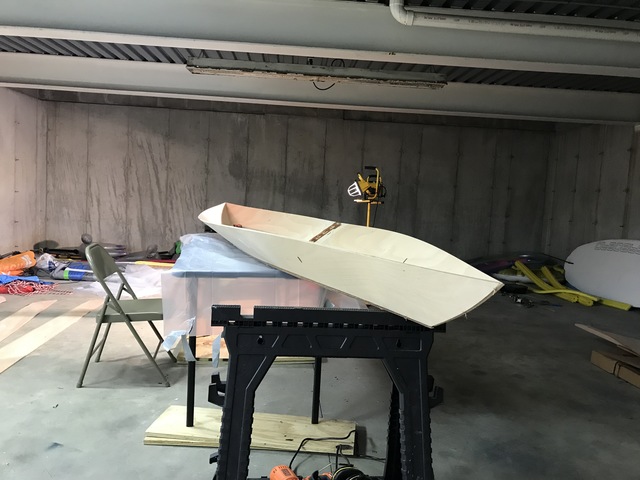
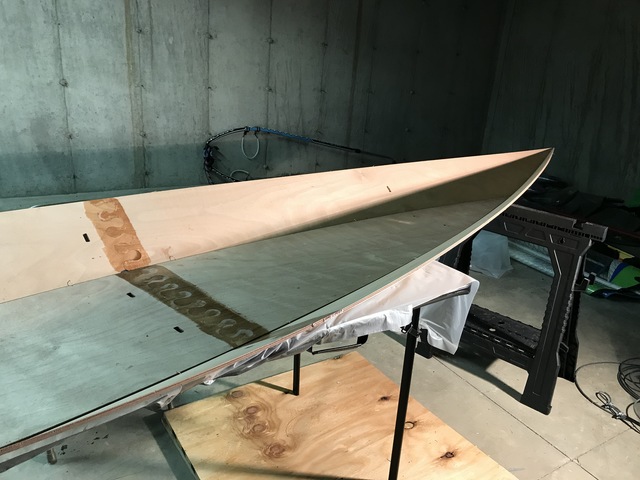
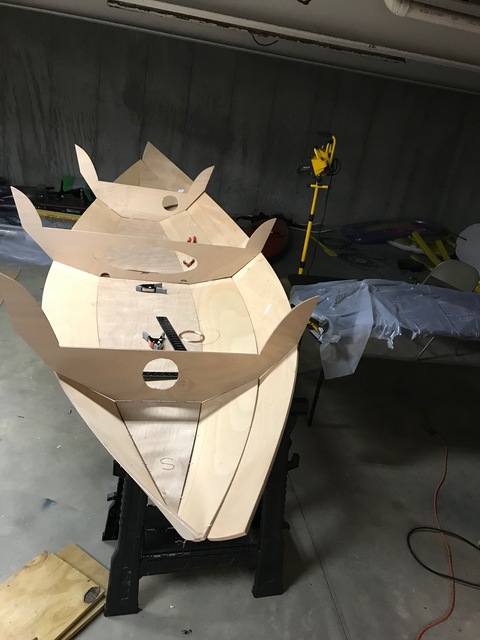
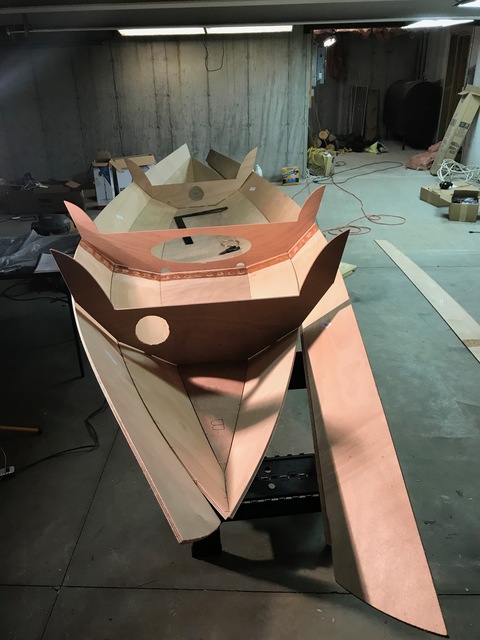
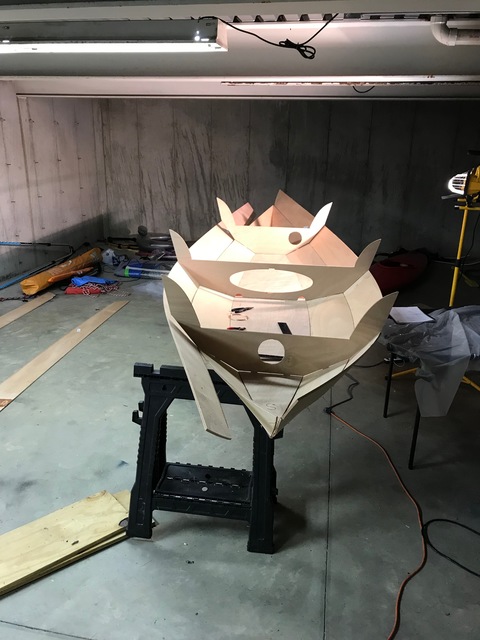
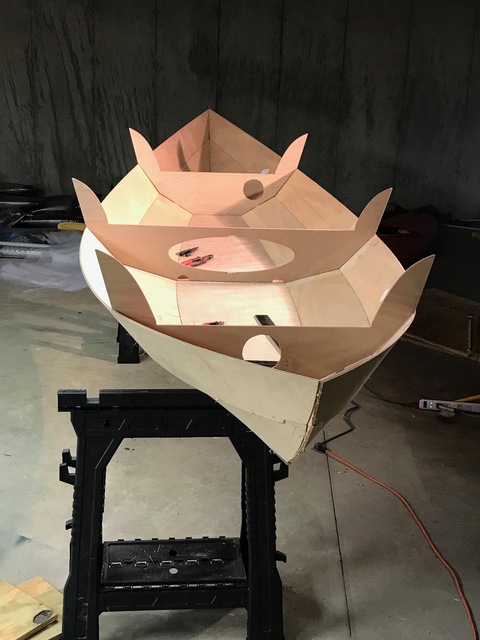
Here is the boat with one second panel in, and the other
in progress (photographed from one end and then the other).
And voila, the second panels are in.

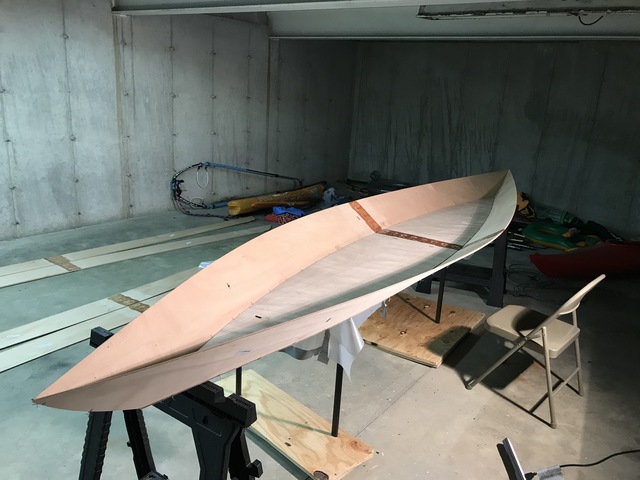
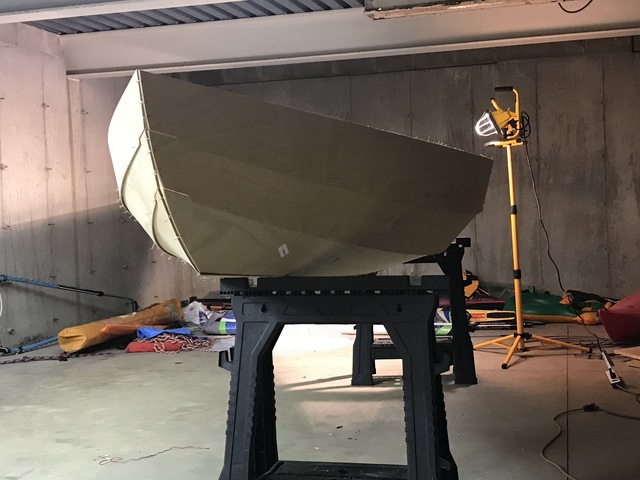
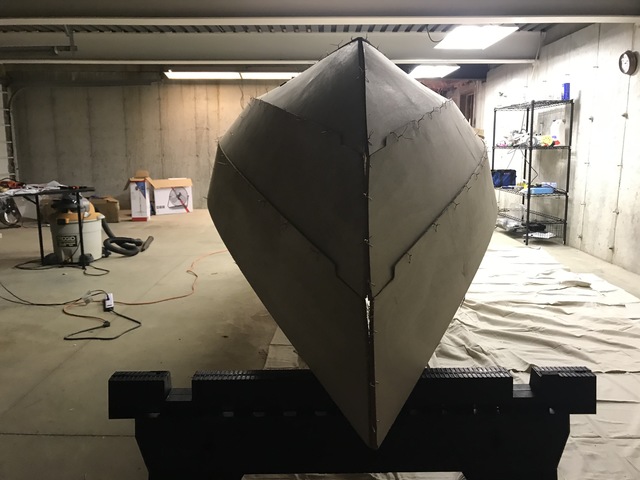
The third panels went in pretty easily, and I now have a hull-shaped object.


But as the saying goes, the last 10% takes 50% of the time.
Some adjustment is needed. The gaps between the panels and
the frames are a bit more than they should be.
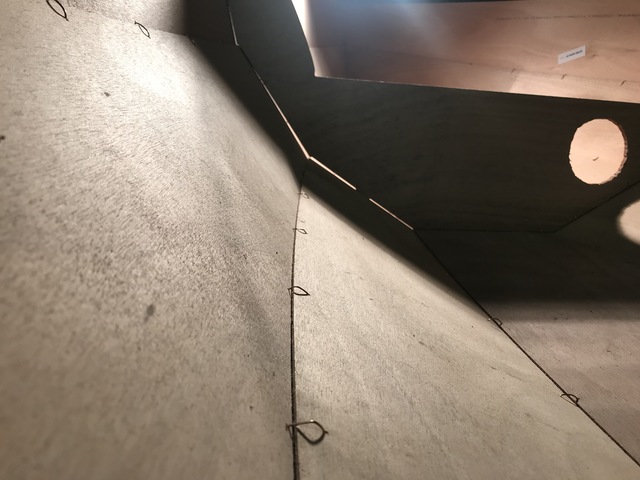
I added some stitches and tightened things up. The gaps are
tolerable now.
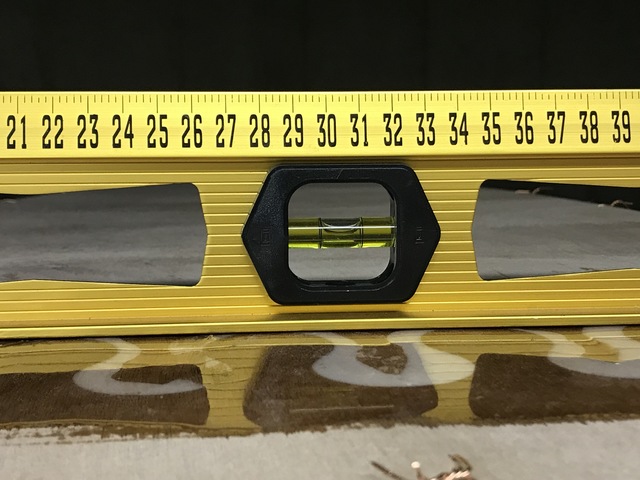
I made a few measurements to check that things were symmetrical.
And they were! I then turned the boat over, using the sawhorses to support
the hull at the same points on each side. If the panels are symmetric, and
the hull isn't twisted, then the bottom of the boat (now facing up) should
be perfectly level.
Here is the boat upside down, from each end, and the side.
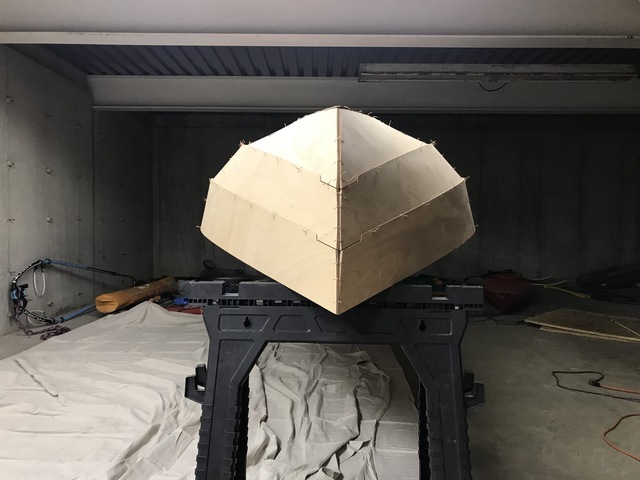
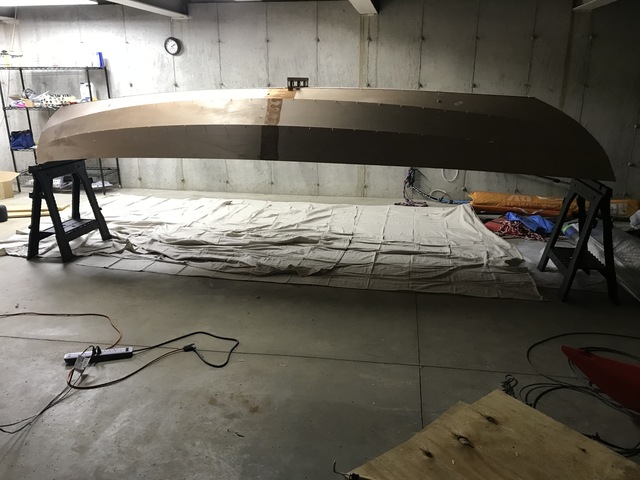
And the level is perfect. Look at that bubble.
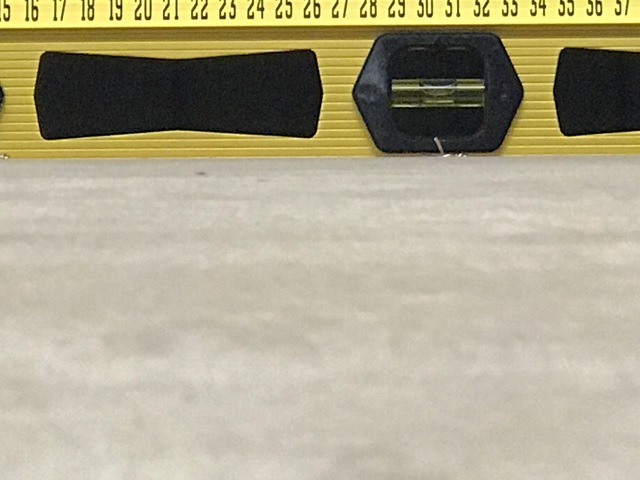
Just look at it.