The next project is the skeg. This is a small fin at the rear of the boat. Reading through the instructions for installing the skeg, I can tell that this is going to provoke much anxiety. I have to shape the inner edge to match the contour of the boat, where the skeg attaches. I will have to both glue and screw in the skeg. It has to be installed exactly along the centerline of the boat, and at exactly 90 degrees, or the boat will, I guess, constantly pull to one side, or lean to one side.
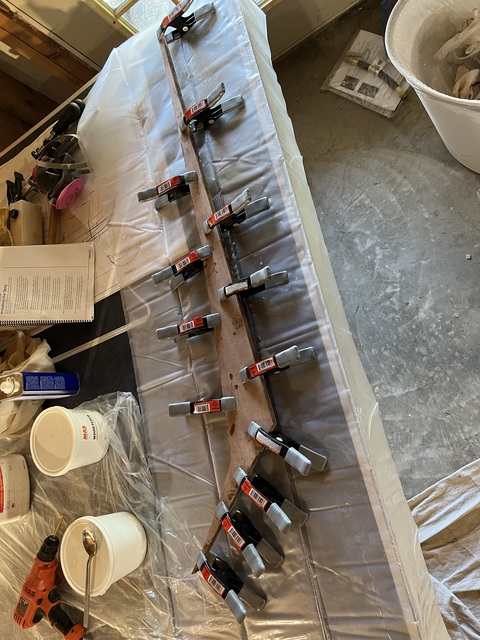
But the immediate task is easy. I just have to take the two skeg
pieces and glue them together.
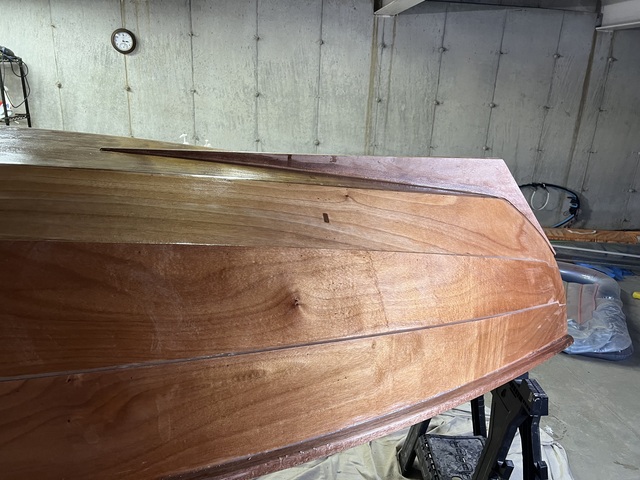
May 19. I applied the second coat of epoxy to the rails (bottom and
side). The ends are looking better still.
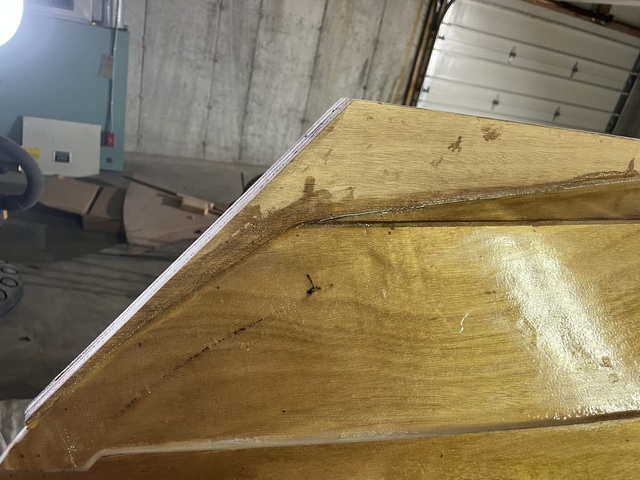
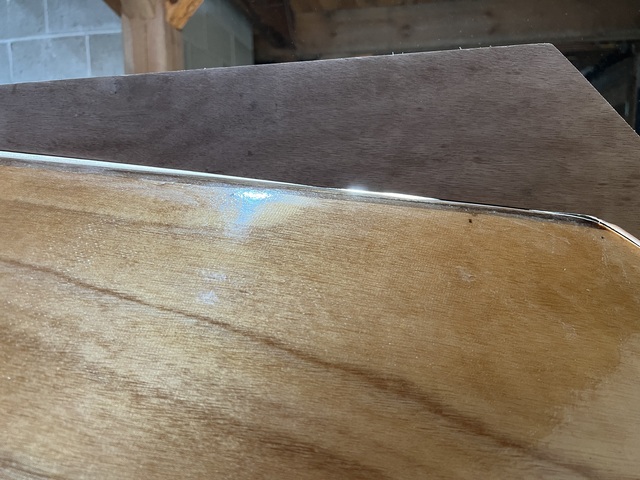
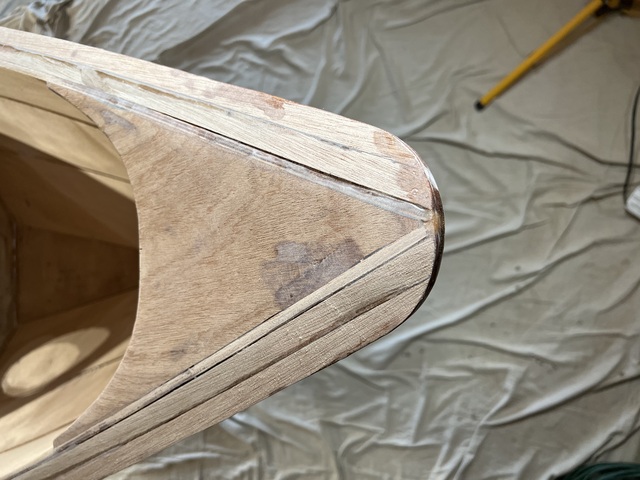
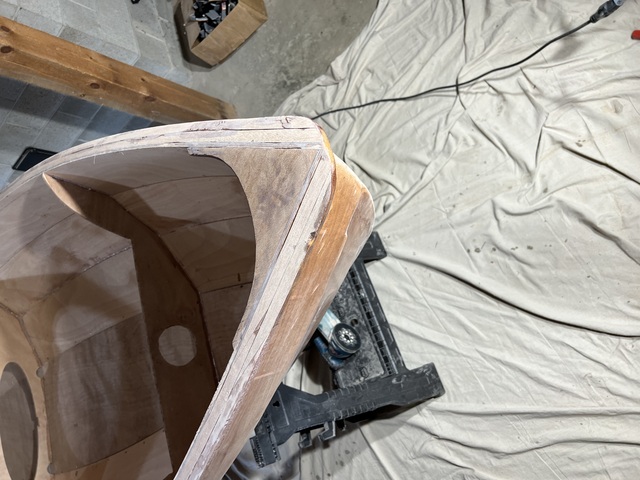
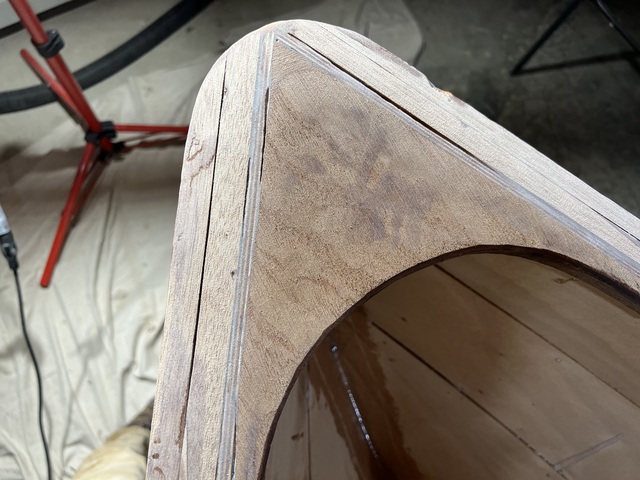
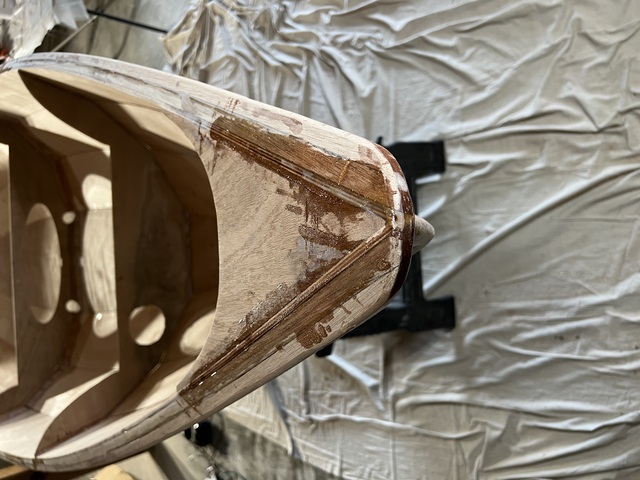
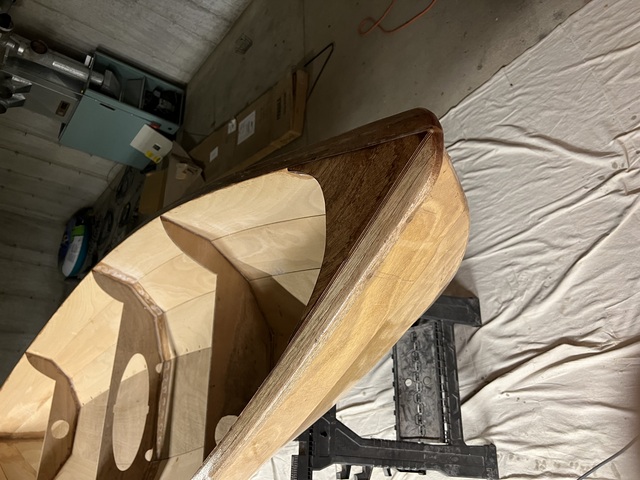
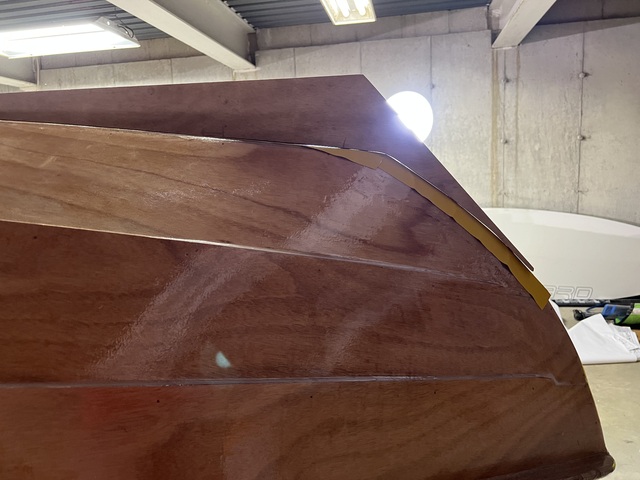
The skeg has to be fit to the hull. It should fit perfectly, but since
my work on the hull has not been perfect, it doesn't quite fit. The gaps are
easy to see here:
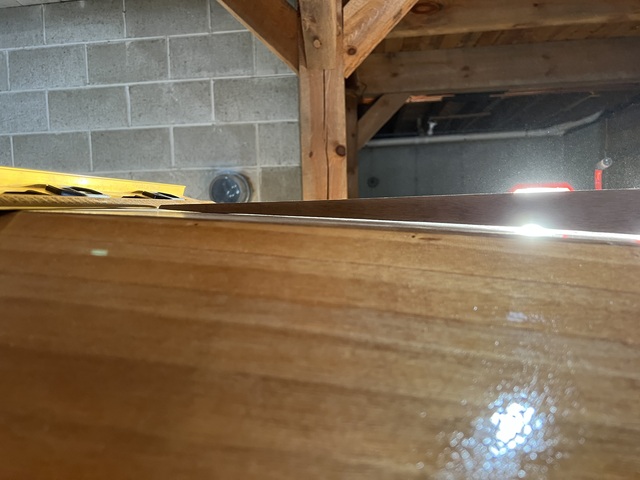
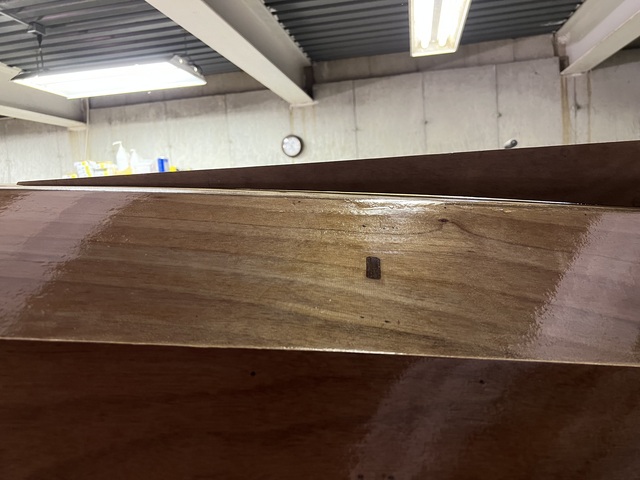
And easier to see here:
I spent a couple of hours alternating between: fitting the skeg on the boat and looking for contact points; and sanding down those contact points. I'm being very conservative, as I can easily see how I could sand the skeg away completely. I would sand down one point of contact. But I would sand it too much, leaving another point in contact, sanding that down, and so on. But that didn't happen, so far at least. I just kept sanding the same three areas, reducing the gaps, and improving the fit.
But the skeg still doesn't fit right, there are still gaps that I think are too wide. So I called CLC support. This was a valuable phone call. I learned three things. 1) The guy I spoke to (Terry, I've spoken to him many times over the years), said that he was just working on a skeg, and he also has to deal with gaps. Good to know that it isn't just me, and that even literal professionals have the same problem. 2) Gaps are fine if they aren't too big, they will be filled in with epoxy. 3) Terry had a neat trick for sanding: Adhesive sandpaper is a thing that exists. Apply it to the boat, where the skeg will attach. Then fit the skeg to the boat, and move it back and forth wherever the skeg is in contact with the sandpaper. Those points, of course, are exactly the places where sanding is needed. Then, when the skeg fits well, turn the adhesive upside down, and use it to rough up the hull where the skeg will be glued. I'll try that next week.
May 27: I was in Maine for a couple of days, but couldn't work on
the skeg. Apparently, a roll of 80 grit adhesive sandpaper is not a
common item, not in stock at Lowe's. So I ordered it online and
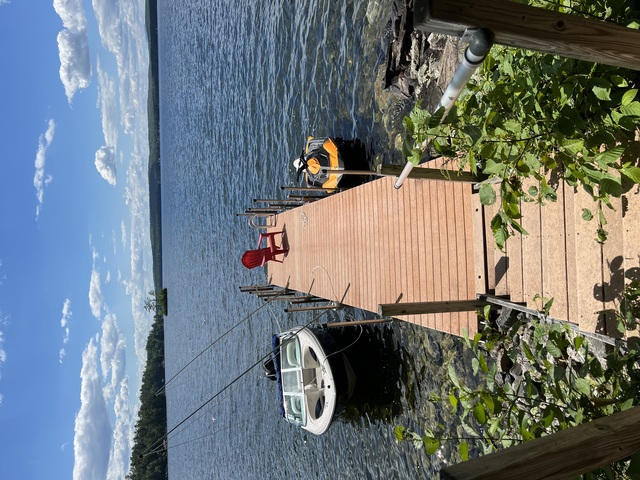
did other things this week. Including, installation of the dock:
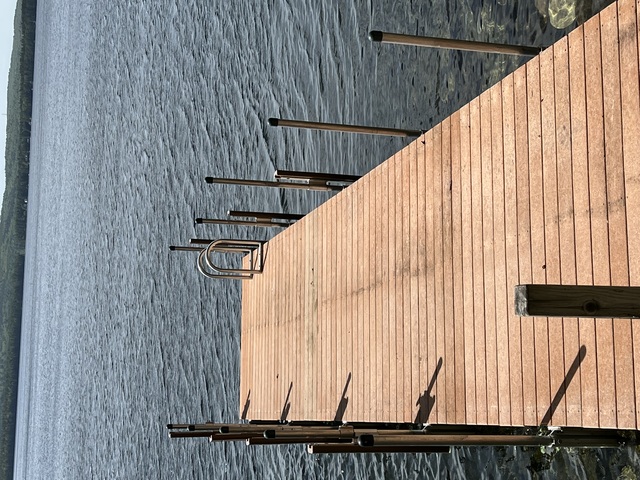
Installing the dock requires balance (walking on the frame of the
dock before the boards are in place), and small amounts of agility,
fine motor control, and strength. It is one of the things that I use
as a sign of impending decrepitude. I figure that if I can still put
in the dock in the spring, and remove it in the fall, I'm still in
reasonable condition. This is my getup for installing the dock (from
five years ago):

The aluminum frame has sharp edges, and once I slipped and received a really nasty gash on my shin. So now I wear a hockey goalie's shin guards.
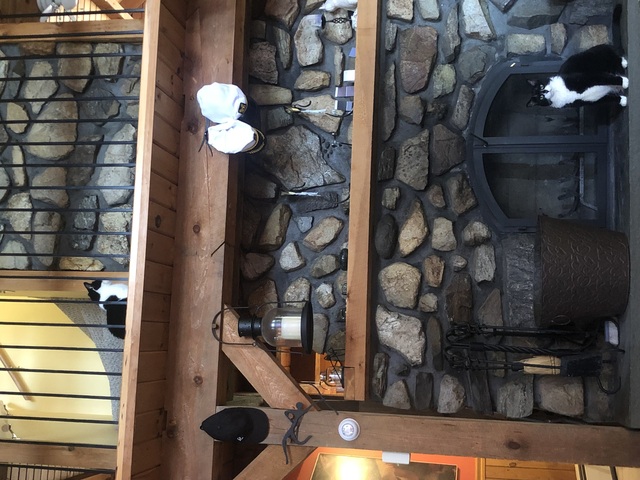
Audrey tested out the dock as soon as it was in.
While I wasn't working on the dock, I worked on the top sides of
the rails and breasthooks, after flipping the boat over. First I sanded:
Then, I checked one more time for gaps between the hull and the
rails.
I filled those in.
I will start sanding and epoxying those parts next time, and get back to work on the skeg. (My roll of adhesive 80 grit sandpaper has arrived.)
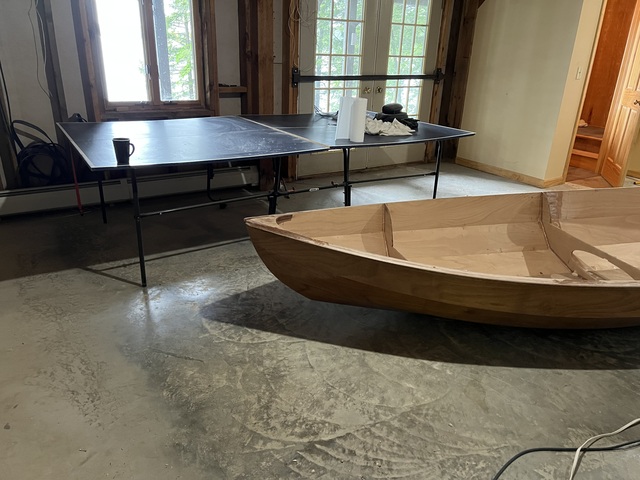
Audrey has had enough of sawdust and epoxy dust floating through the house, and it's getting warm, so I once again moved my work area from the basement to the lower garage. I spent the morning cleaning out the lower garage: trash from the last time I worked there, whatever the critters brought in over a couple of winters, and just the spontaneously generated schmutz that somehow appears in garages.
First I moved everything but the boat.

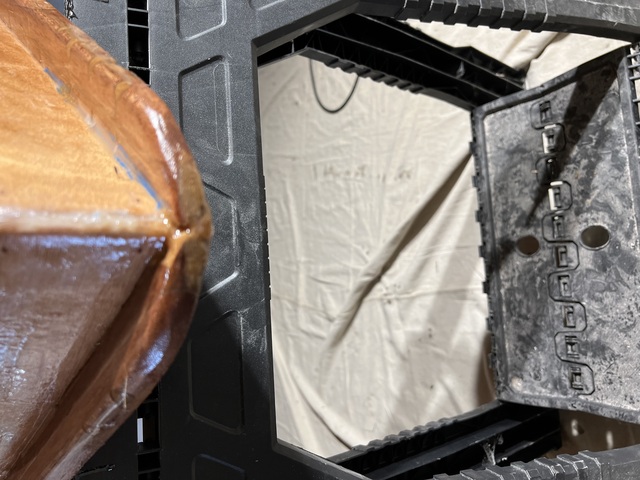
Then we had to move the boat. Nearly two years ago (!) we moved the
boat, I dropped my end, and
split it open. The problem is that the boat is 15' long, and
56" wide, and my two work areas are connected by a door that isn't
wide enough.
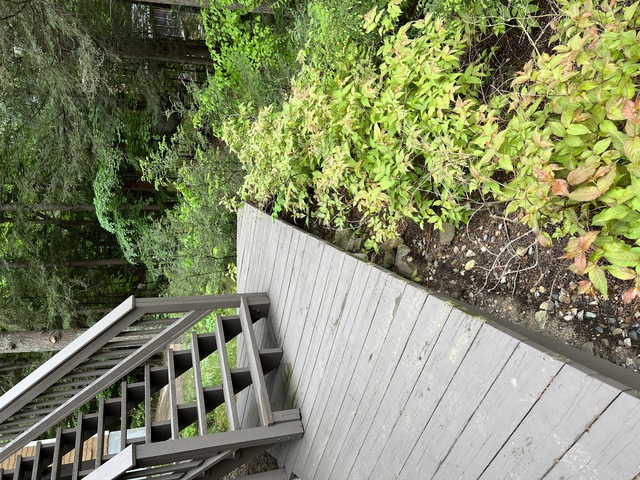
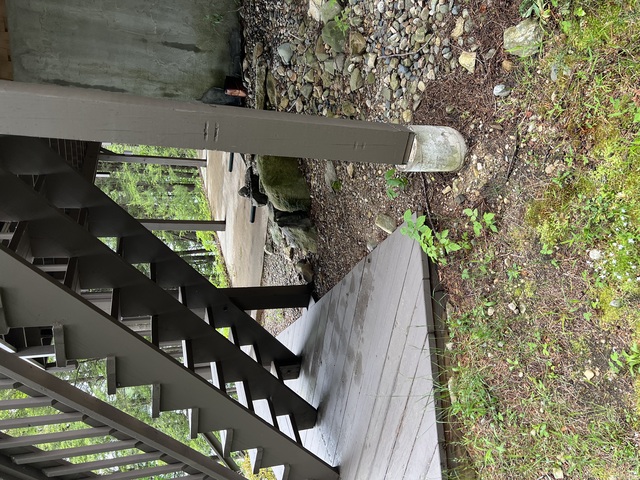
I thought about taking the boat outside, and carrying it around the
house. But that proved to be unworkable. There is a path, but it is
too narrow:
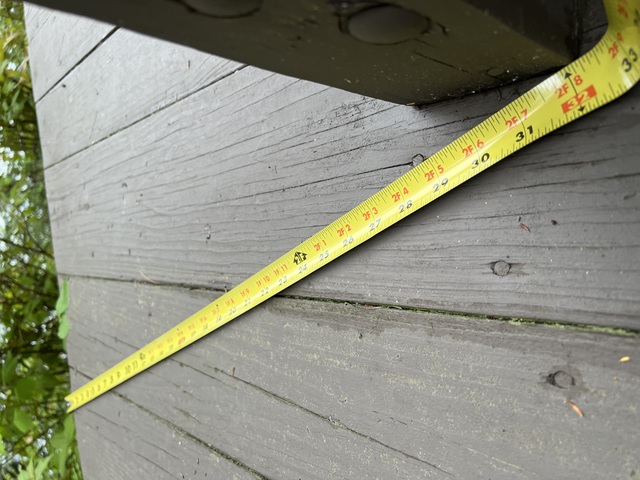
And the path is adjacent to a steep hill.
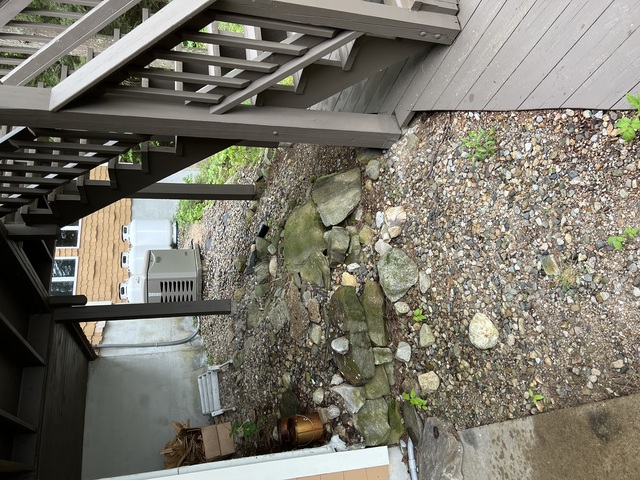
I though about going under the deck, but there is no path wide enough.
So we just did what we've done before, carrying the boat inside the
house, tipping it sideways to get through the door.

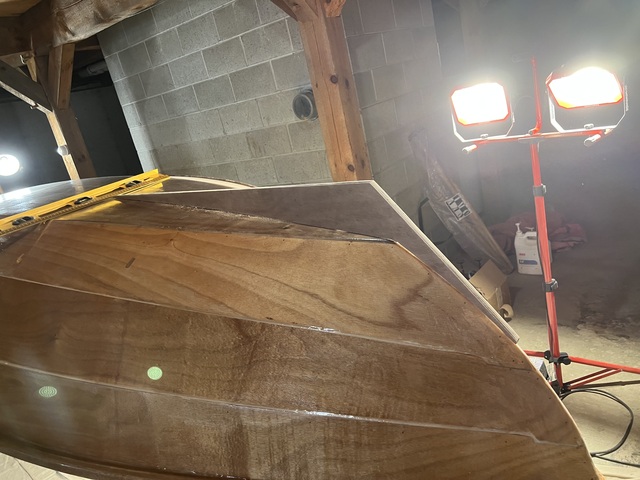
The only actual work on the boat itself was to put the first coat
of epoxy on the rail tops and the breasthooks. Things always look so
much better once epoxy hides all my mistakes.
It's June 8. There was very dense fog this morning, but it cleared up to a beautiful day.
(Except for lingering mayflies.)

I only have one day to work on the boat this week, between a trip to Atlanta (Audrey and I visited Mario & family, while he and Simos attended the "blade show"); events in New York and at home for Hannah's fourth book, and then a road trip to Canada to visit Chris, Gord & Leslie, and attend Andrew Bronfman's wedding. So no more boat work until late June.
My adhesive sandpaper arrived.
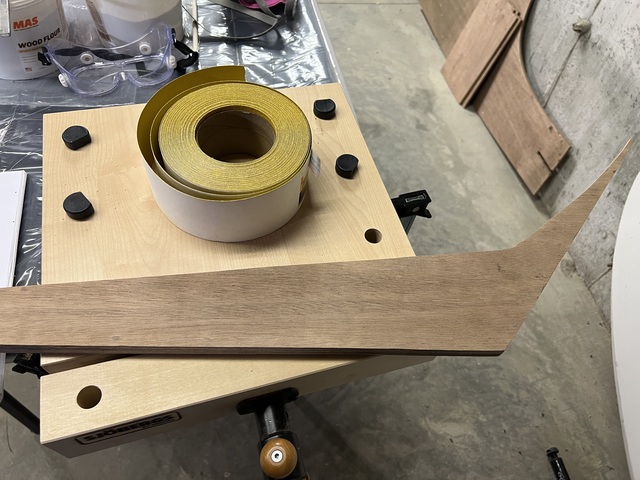
I applied it to the boat, where the skeg will go.
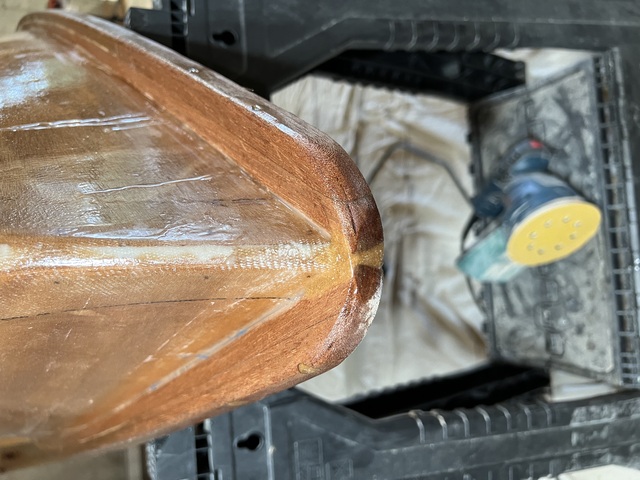
And then I started sanding, by moving the skeg back and forth, and
left and right. I also needed to sand some spots by hand, and with the
sander.

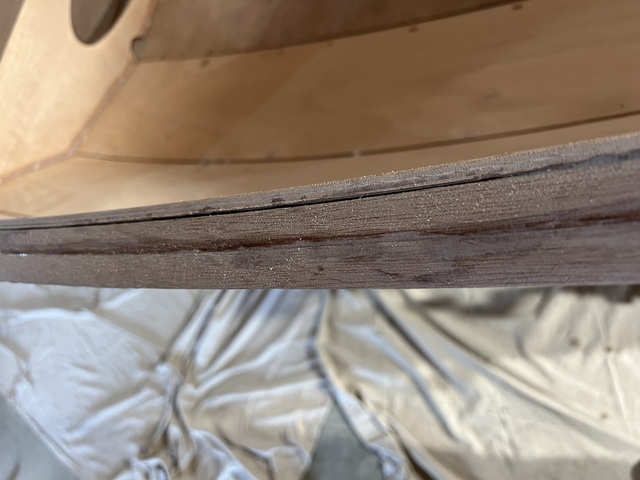
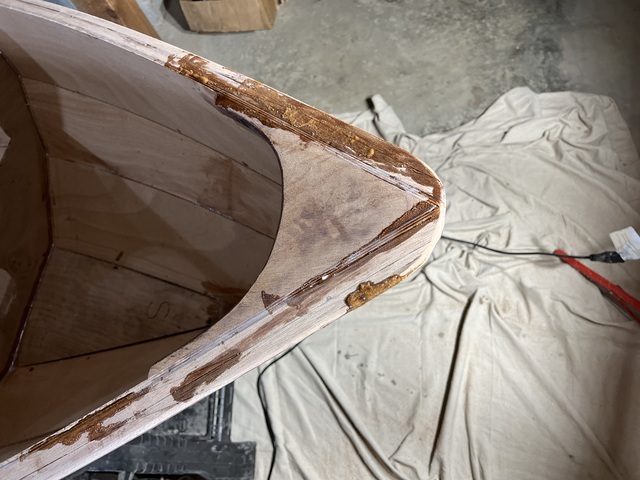
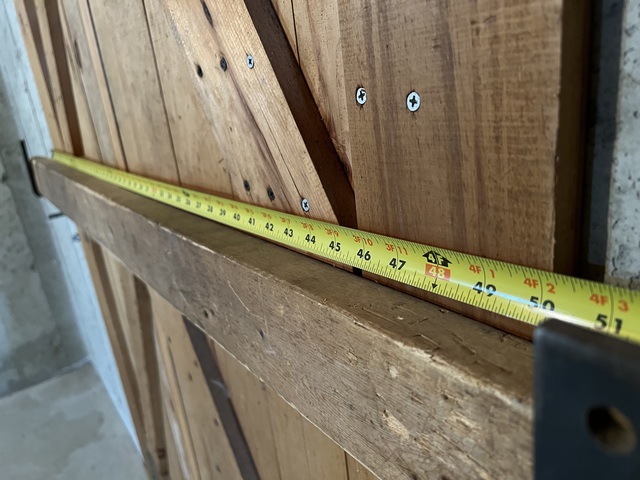
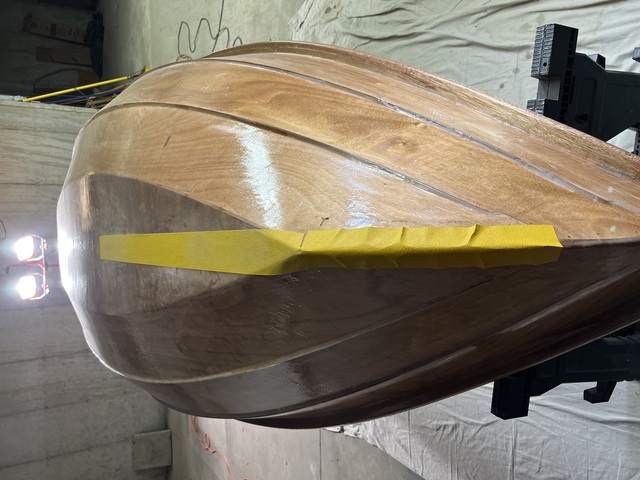
The gaps are much smaller, but not completely gone. I may do more sanding, but I should
be able to attach the skeg when I return. Here are the gaps now.
Here we are, one month later, July 8, 2022. Here's what I've been up to, instead of working on my boat:
(Not shown: Cat5)
So, yeah, a lot has happened. But nothing on the boat.
But yesterday and today I got the skeg installed. I spent another couple of hours sanding the skeg to conform to the hull. Then I lined up the skeg on the hull, marking where it was going to go permanently, drilled pilot holes through the hull. Audrey helped me duct-tape the skeg into place. From below the boat (which is currently upside down) I drilled through the pilot holes into the skeg.
And it was not good. The skeg was off-center.
So I tried again today, drilling some new pilot holes, and finally
got it right. Then it was time to epoxy and screw the skeg into place.
It worked out in the end, but
something about epoxy makes me frantic. I am still paranoid about the
epoxy drying too fast, positioning the pieces incorrectly, dripping,
and in general, making difficult-to-fix messes. So I forgot to consult
my checklist, and forgot to add the wood filler.
Fortunately, I didn't get very far before realizing this, so I
mixed in some wood filler, and resumed. And here we are.